Apple TV offers a rich multimedia experience, providing access to various movies, TV shows, and streaming services. One of the essential aspects of enjoying this content is selecting the preferred language for the interface and subtitles. If you’re unsure how to change the language settings on your Apple TV or have encountered difficulties in doing so, fear not! In this article, we will walk you through the step-by-step process of changing the language on your Apple TV. Additionally, we’ll also address some related topics and frequently asked questions to ensure you have a comprehensive understanding of the language settings on your Apple TV.
Changing the Language on Apple TV
Before we delve into the specific steps, ensure that your Apple TV is connected to a stable internet connection and is updated to the latest software version. Follow the steps below to change the language on your Apple TV:
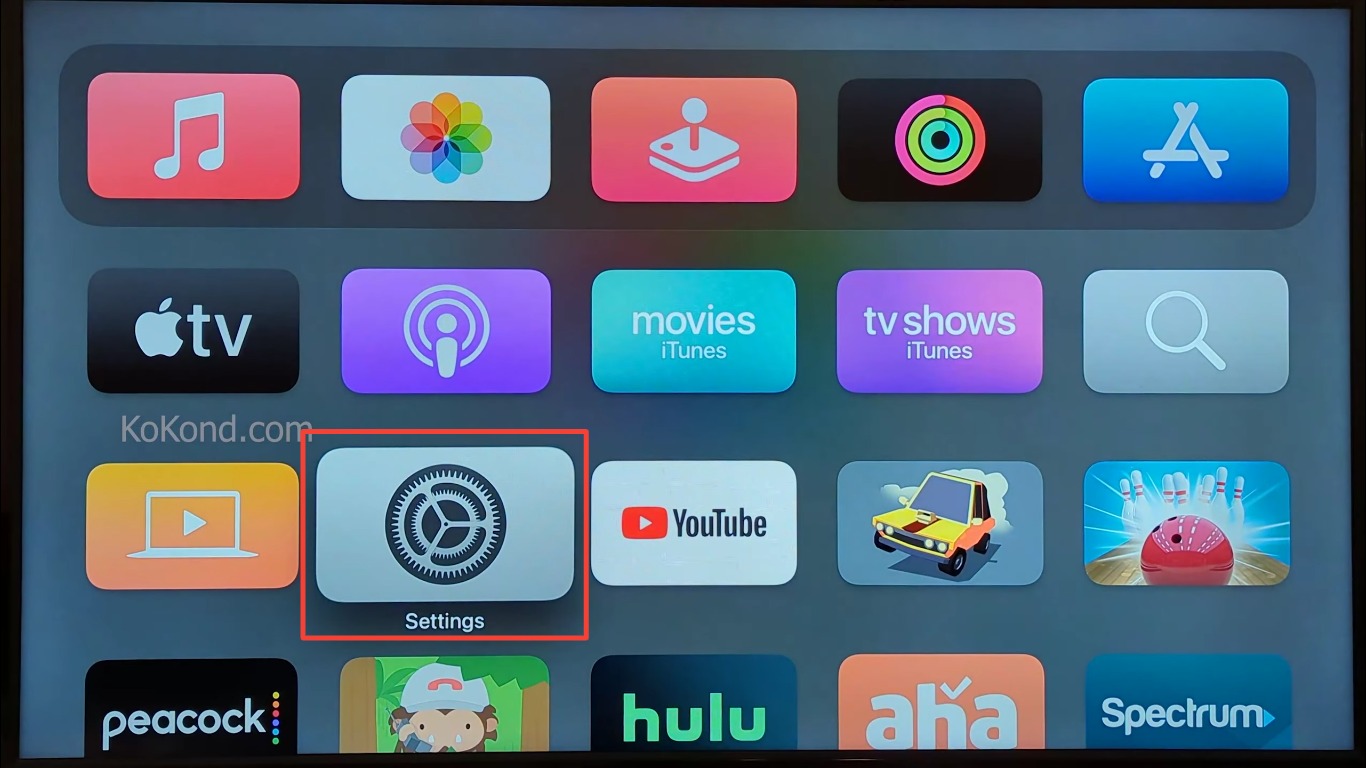
Step 1: Go to Settings
To begin, navigate to the home screen of your Apple TV and locate the “Settings” app. The “Settings” app resembles a gear icon, making it easily identifiable.
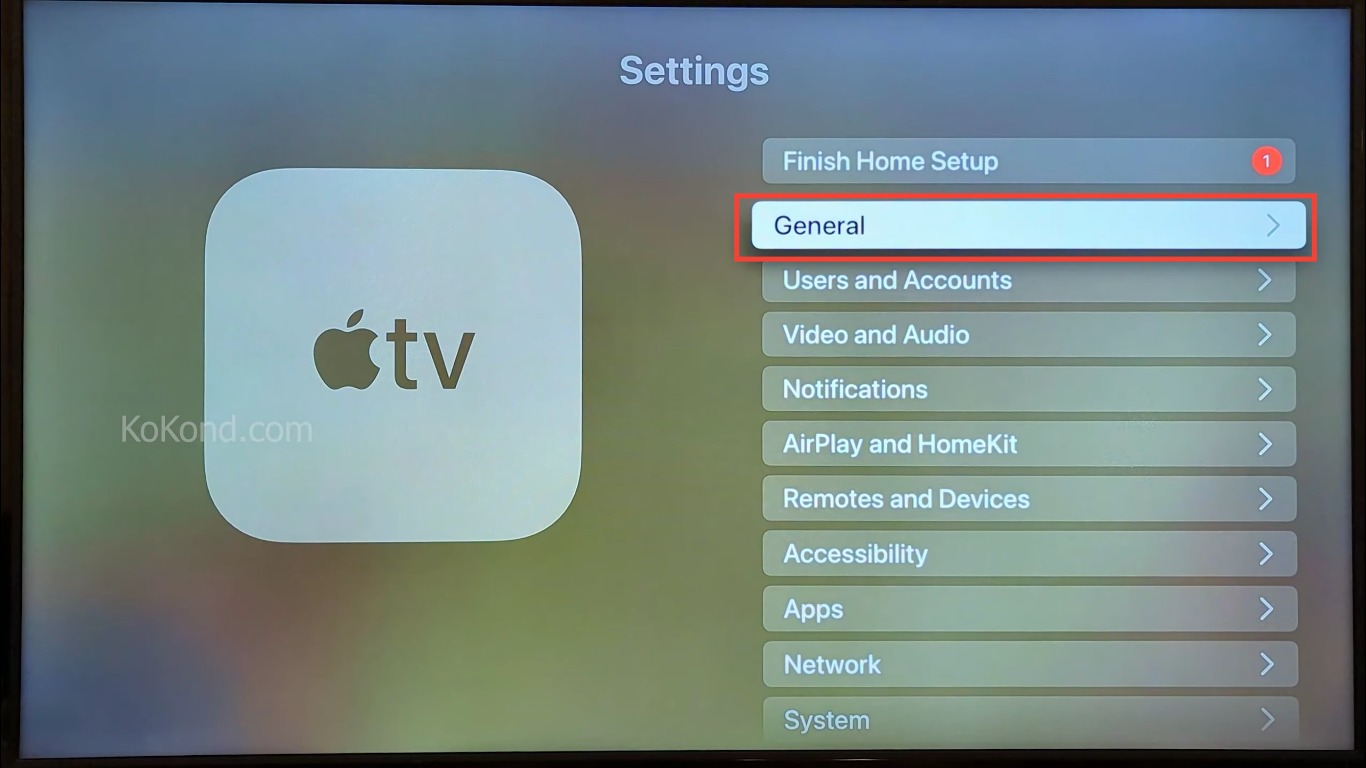
Step 2: Tap on “General”
Once you’re inside the “Settings” menu, scroll down and select “General.” It’s usually situated towards the top of the list.
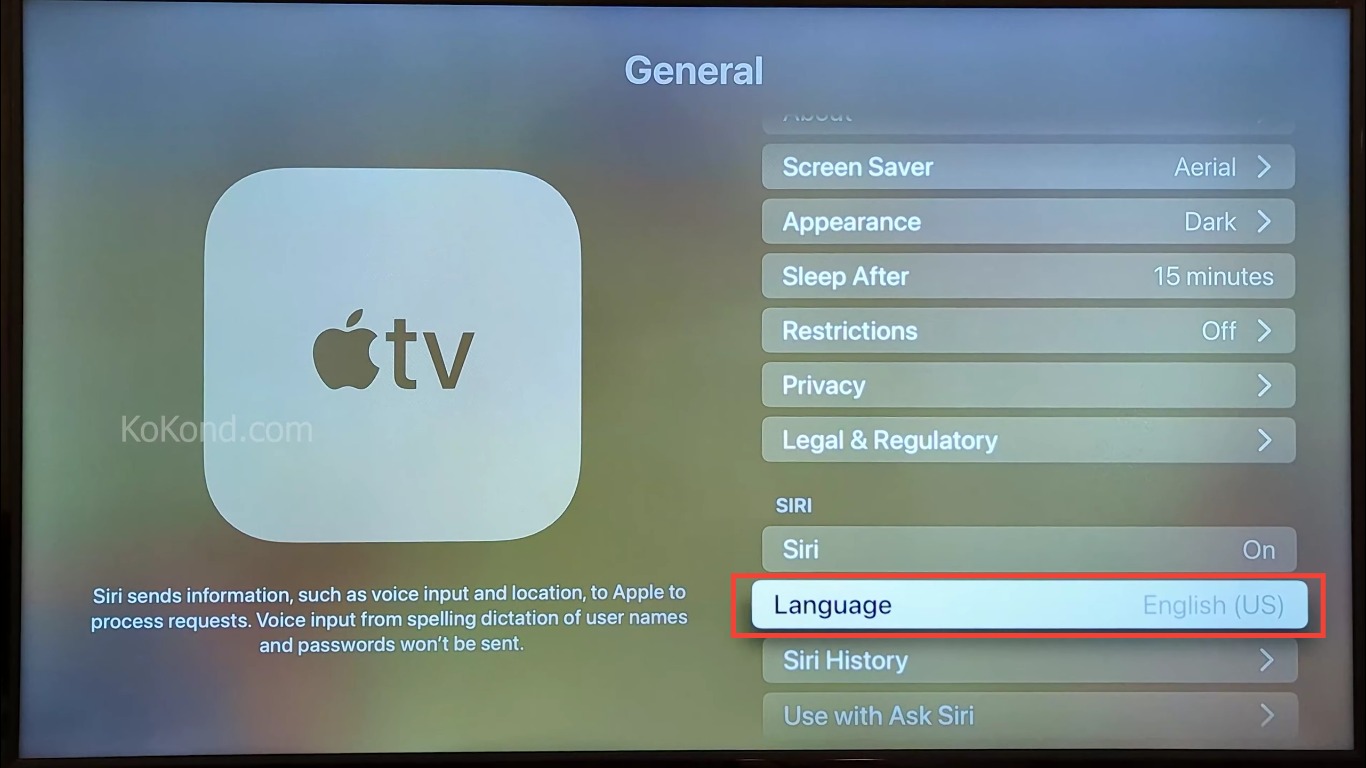
Step 3: Tap on “Language”
Within the “General” settings, find the “Language & Region” section and reach for the “Language” option and click on it. This is where you can configure various language-related preferences.
Step 4: Choose your preferred language.
A list of available languages will be displayed. Scroll through the list and choose your desired language. As you select a language, the text on the screen will change to the selected language, confirming your choice.

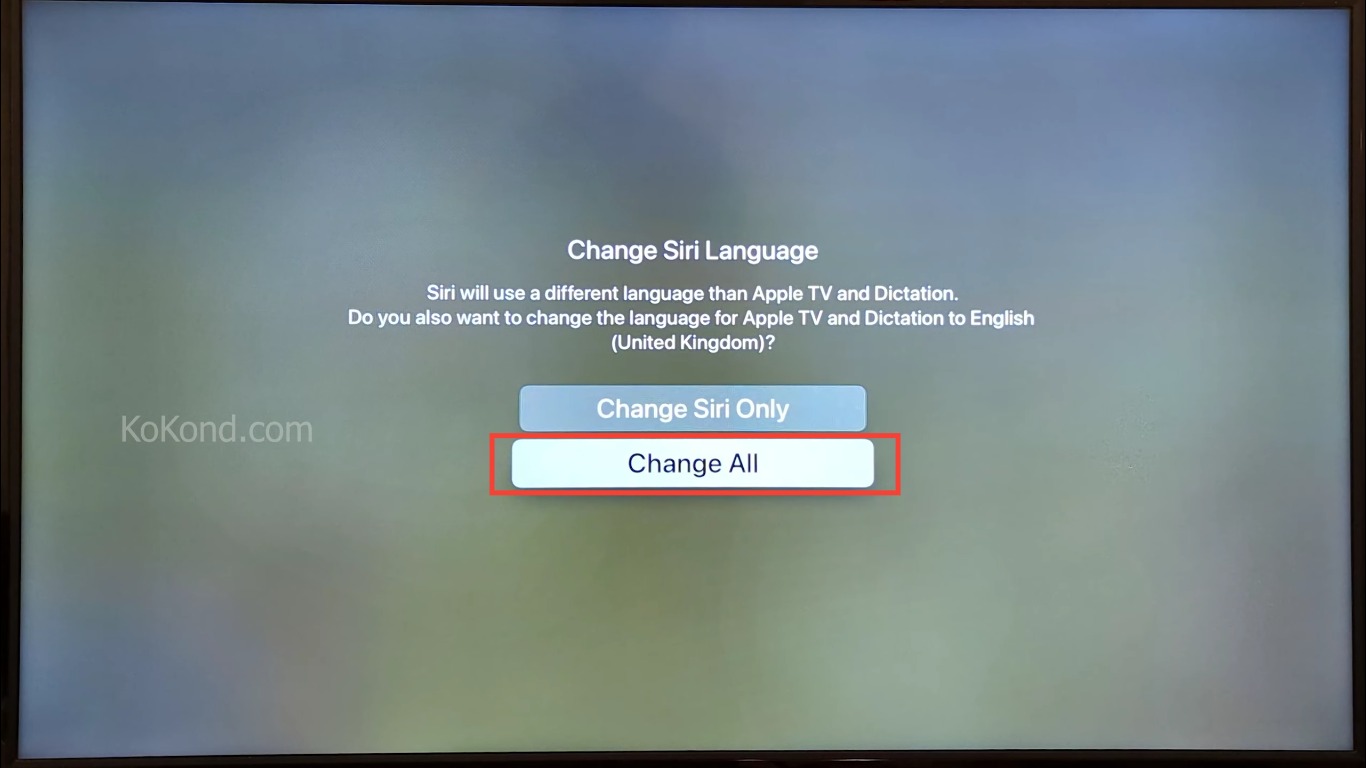
Step 5: Select “Change All”
After selecting the language, a pop-up will appear, asking you if you’d like to change Siri language. Click on “Change All” to change the language of Siri and Apple TV.
Step 6: Additionally, restart your Apple TV.
To ensure that the language change takes effect completely, it’s a good idea to restart your Apple TV. You can do this by navigating to “Settings,” then “System,” and finally selecting “Restart.”
You can also watch the complete video to change your Apple TV language by clicking on the link Change language on Apple TV
Congratulations! You have successfully changed the language on your Apple TV. The interface and subtitles will now be displayed in your chosen language, enhancing your user experience.
How to Change Subtitle Language on Apple TV
While changing the overall language on your Apple TV affects the interface and system texts, you can also set a default subtitles language or even customize the subtitle language for individual movies or shows. If you wish to change the default subtitles language to watch every movie or show in one preferred language, you can do so by following the steps in this link Apple Support For Changing Subtitle Language. However, if you wish to change the subtitles language for a specific show or movie, here’s how to change it.
Step 1: Play the video.
Start playing the movie or show you want to watch.
Step 2: Swipe down on the remote.
While the video is playing, swipe down on the Apple TV remote’s touch surface. This action will reveal the Info panel.
Step 3: Select the “Subtitles” icon.
In the Info panel, locate the “Subtitles” icon, which looks like a speech bubble. Click on it.
Step 4: Choose your preferred subtitle language.
A list of available subtitle languages will appear. Scroll through the list and select your desired language.
Step 5: Enjoy the content with subtitles.
The subtitles will now be displayed in your chosen language, making it easier to follow along with the dialogue.
Remember that not all movies and shows support multiple subtitle languages. If your preferred language is not available for a specific title, the option might not appear in the subtitles menu.
How to Change the Region on Apple TV
Step 1: Access the “Settings” menu.
Go to the home screen and open the “Settings” app (gear icon).
Step 2: Select “General.”
In the “Settings” menu, scroll down and click on “General.”
Step 3: Choose “Language & Region.”
Under the “General” settings, find and click on “Language & Region.”
Step 4: Select “Region.”
Inside the “Language & Region” section, locate the option labeled “Region” and click on it.
Step 5: Choose your preferred region.
You’ll see a list of available regions. Scroll through the list and choose the region you want to switch to.
Step 6: Confirm your selection.
A pop-up will appear, informing you about the potential impact of changing the region. Click on “Change Region” to proceed.
Step 8: Restart your Apple TV.
It is recommended to restart your Apple TV after any major setting change, for the changes to take effect. Restart your Apple TV by going to “Settings,” “System,” and then selecting “Restart.”
Keep in mind that changing the region may affect your access to certain apps, services, or content that are region-specific or subject to licensing restrictions. It is recommended to research the implications before changing the region.
If you wish to view certain content that’s not allowed in your region or country, we recommend you to read Change Apple TV Region With VPN and change your country or region using VPN.
Frequently Asked Questions
Will changing the language on my Apple TV affect my Apple ID or iTunes account?
Answer- No, changing the language on your Apple TV only affects the system language, interface, and subtitles. It does not impact your Apple ID or iTunes account. Your Apple ID language is set independently and can be changed on your Apple ID account settings. To change your Apple ID Language, click on Change region on Apple ID and read through the instructions.
Will changing the region on my Apple TV affect my app store or previously downloaded apps?
Answer- Yes, changing the region on your Apple TV may affect the availability of certain apps and the content in the App Store. Some apps may not be available in the new region, and others may require reinstallation or re-download. However, if you wish to access region-locked content, you can do so by changing your Apple TV region by using a VPN. Read to know more Change Apple TV Region Using VPN
Is it possible to use a language not listed in the available options?
Answer- The language options available on Apple TV are based on the supported languages provided by Apple. If your preferred language is not available, it cannot be selected directly within the system settings. However, in some cases, changing the region might enable additional language options.
Conclusion
Changing the language on your Apple TV is a straightforward process, allowing you to personalize your viewing experience and make it more convenient. By following the steps outlined in this article, you can easily switch the language for the Apple TV interface, Siri, and subtitles. Additionally, we explored related topics such as changing the region and setting subtitles for individual content. Keep in mind the potential impact of changing the region and the availability of subtitles for specific content.
Apple TV continues to evolve, and it’s always a good idea to check for software updates and explore new features and settings regularly. Now that you have mastered the art of changing the language on your Apple TV, you can navigate its interface with ease and enjoy your favorite movies and shows in the language of your choice. Happy watching!
Video

Passionate about tech gadgets, I turned my love into a blogging journey. Specializing in how-to articles, I unravel the intricacies of gadgets, providing step-by-step guides. Join me in exploring the tech universe, where every device holds endless possibilities. Let’s simplify the complexities and enhance your tech experience together.