Through the help of this article you will learn how to Set Up your Google Nest Hub in easy steps. The whole process does not take more than 15 minutes to complete and you can have your device set up and ready to use, in a few minutes of time. Read on to find how to set up your Google Nest Hub in a few easy steps.
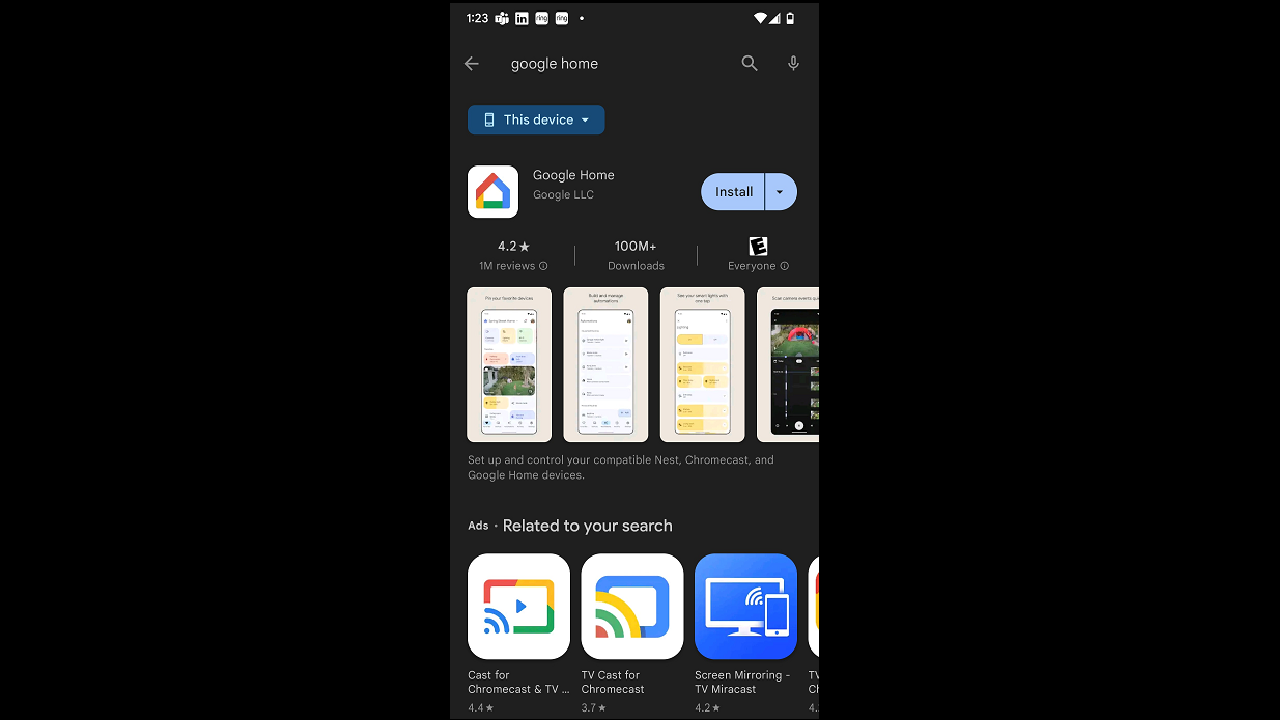
Step 1: Download Google Home App
To help you set up and use your Google Nest Hub device efficiently and properly you would need the Google Home App on your mobile phone, so that you can operate the device properly. So, after you have plugged your Google Home Nest Hub and switched it on, download the Google Home App on your device and set it up, while your Google Nest Hub is getting prepared to set up. You can download the Apple version from here and the Android App from here, respectively.
Step 2: Sign in With your Google Account
The next step would be to sign in with your Google Account as that would be how you would make a Google Home on the app and use the device while it’s connected to your mobile phone.
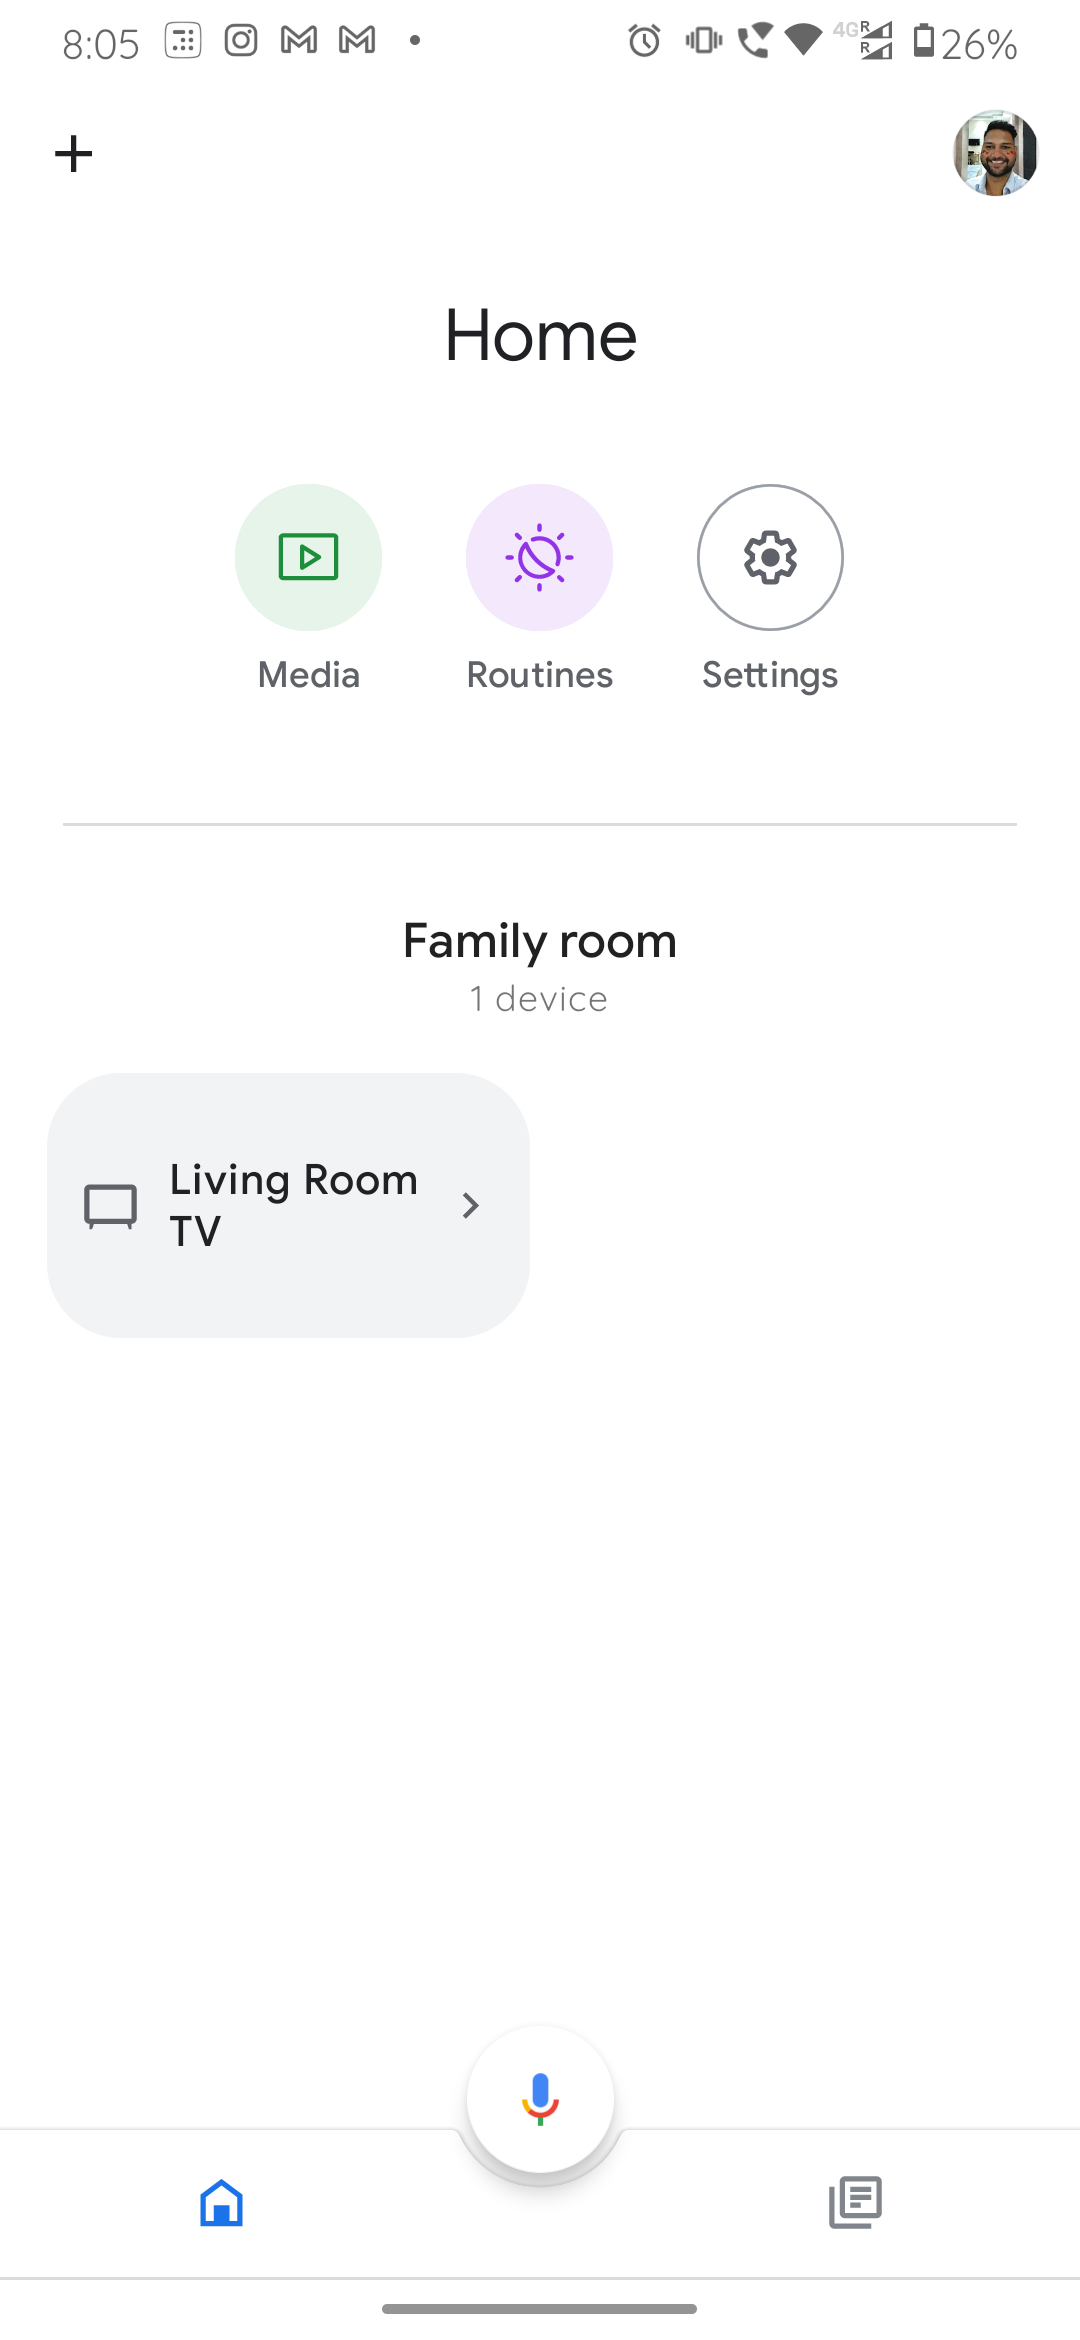
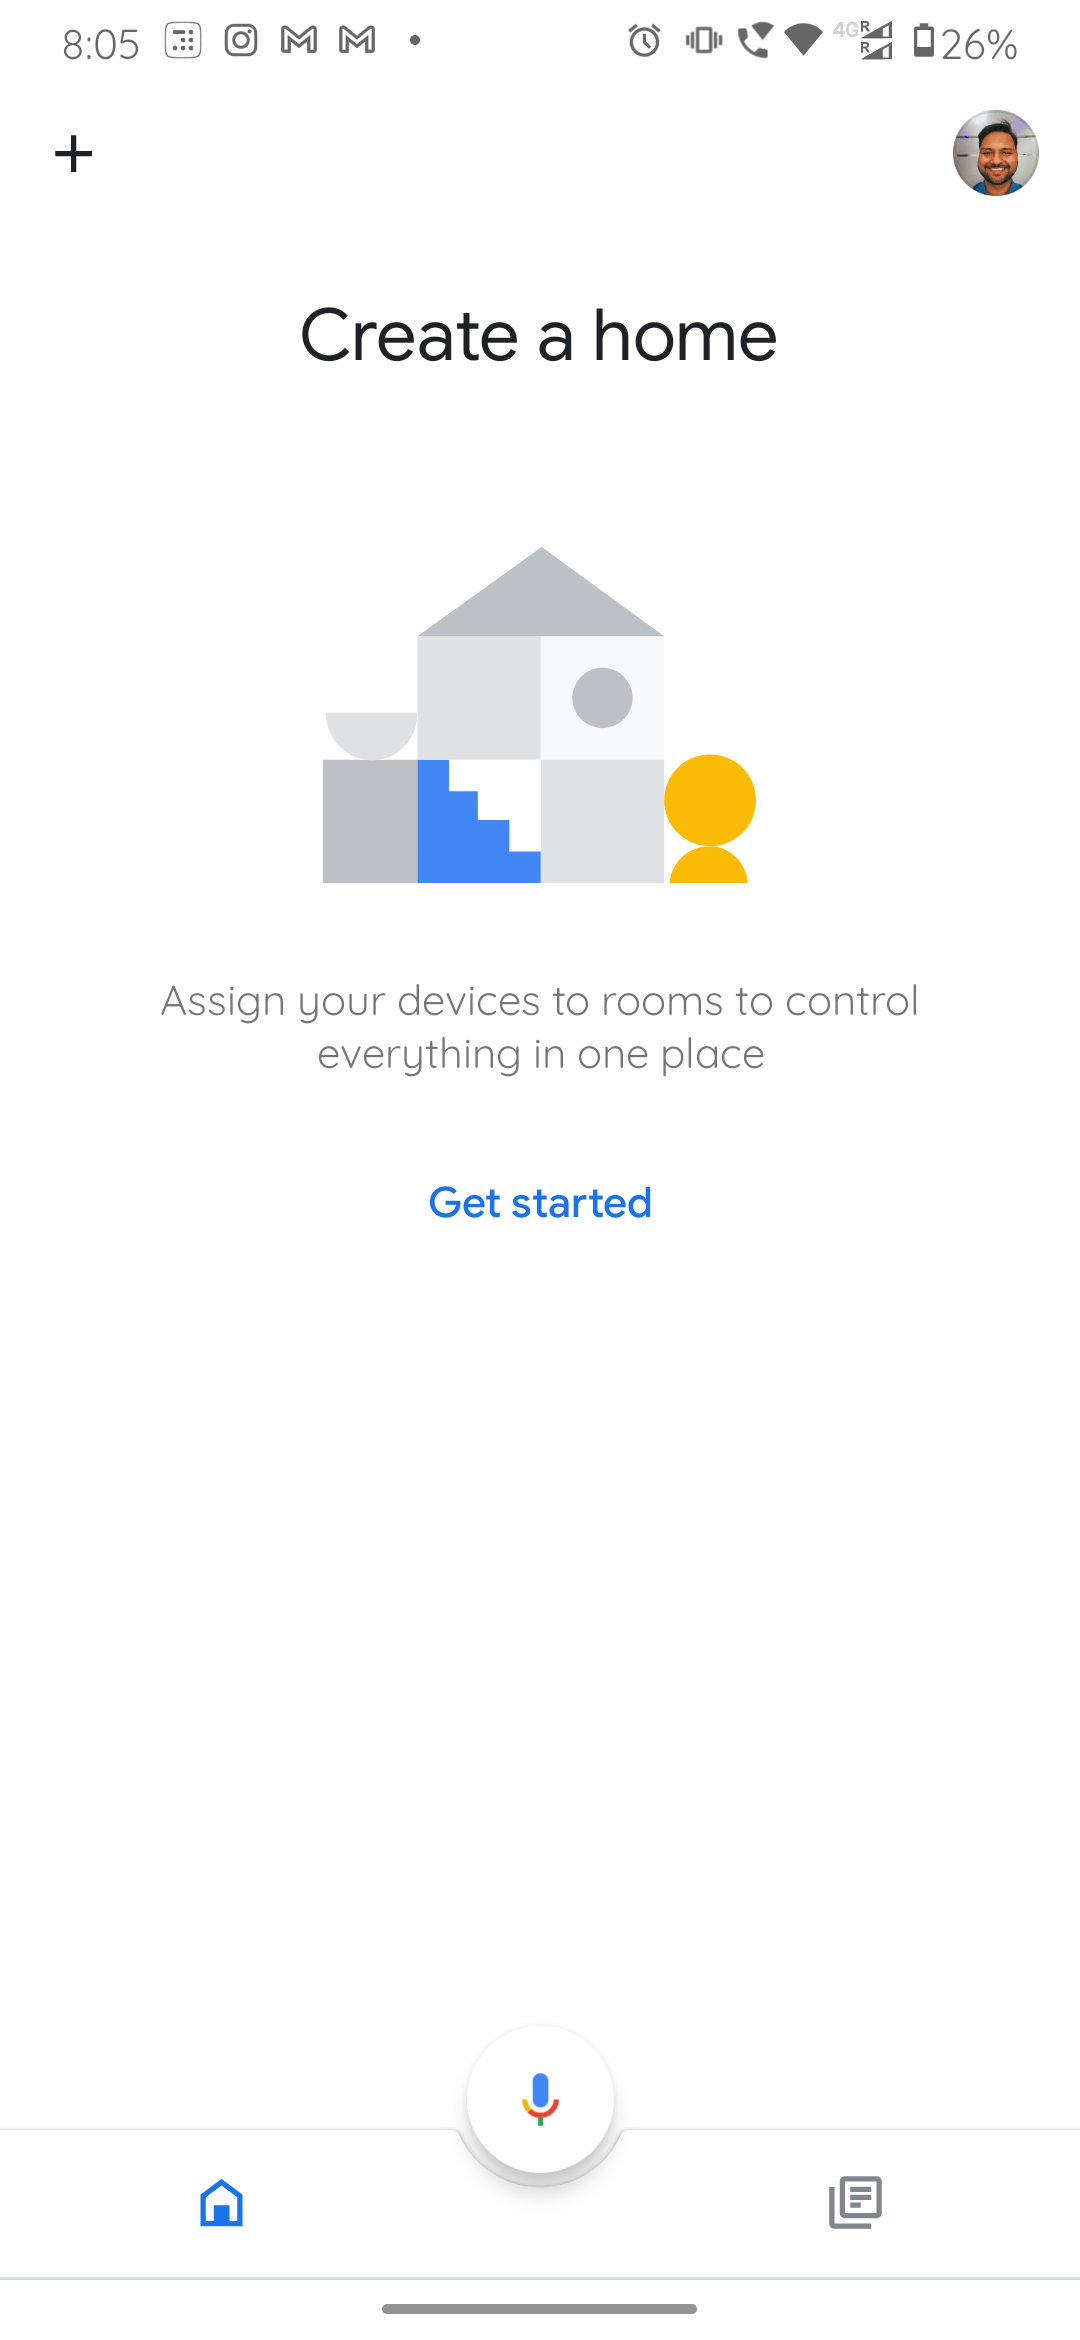
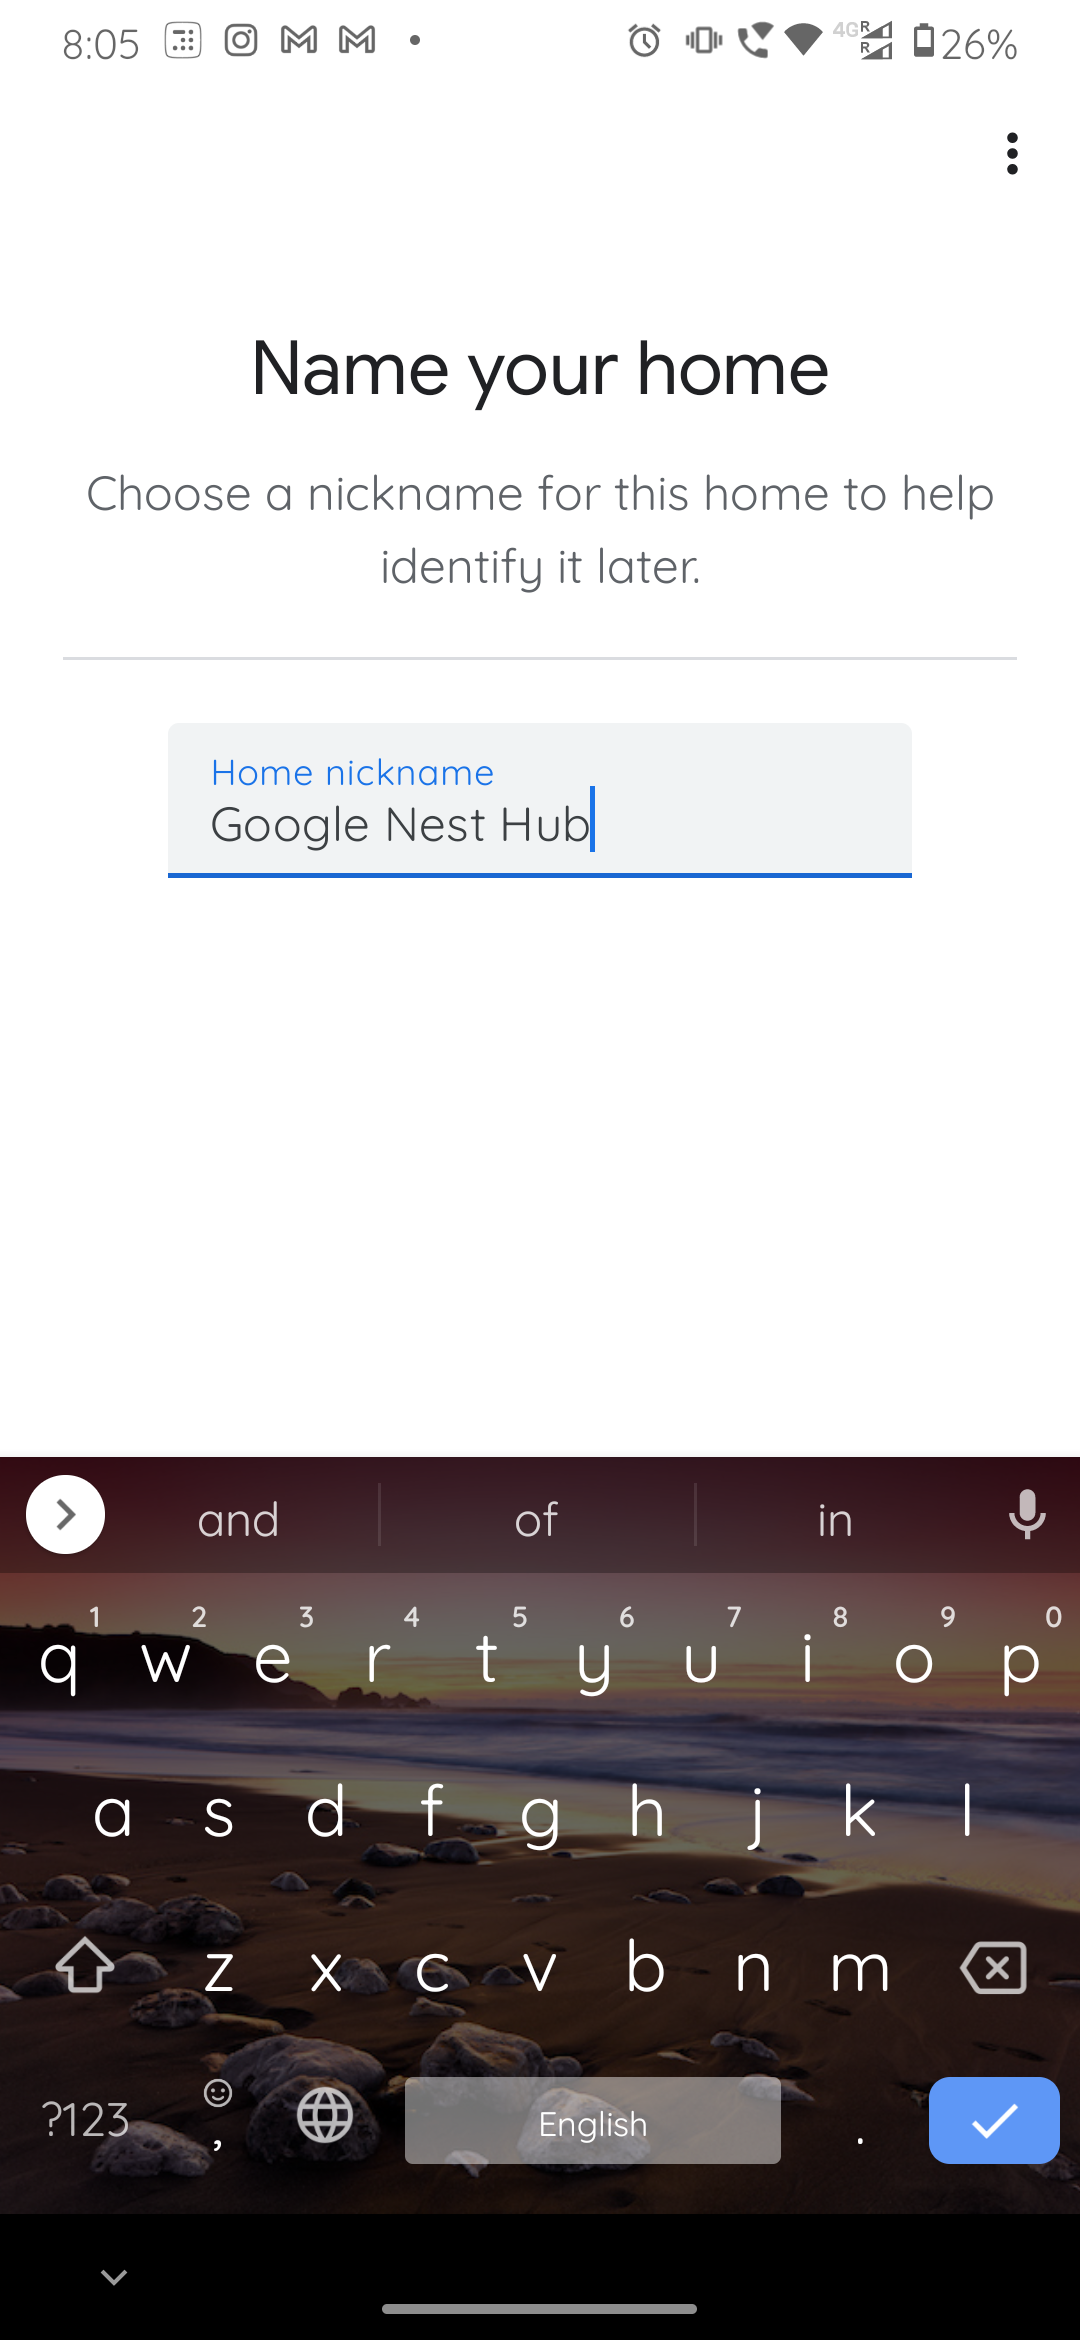
Step 3: Choose or Create a Home
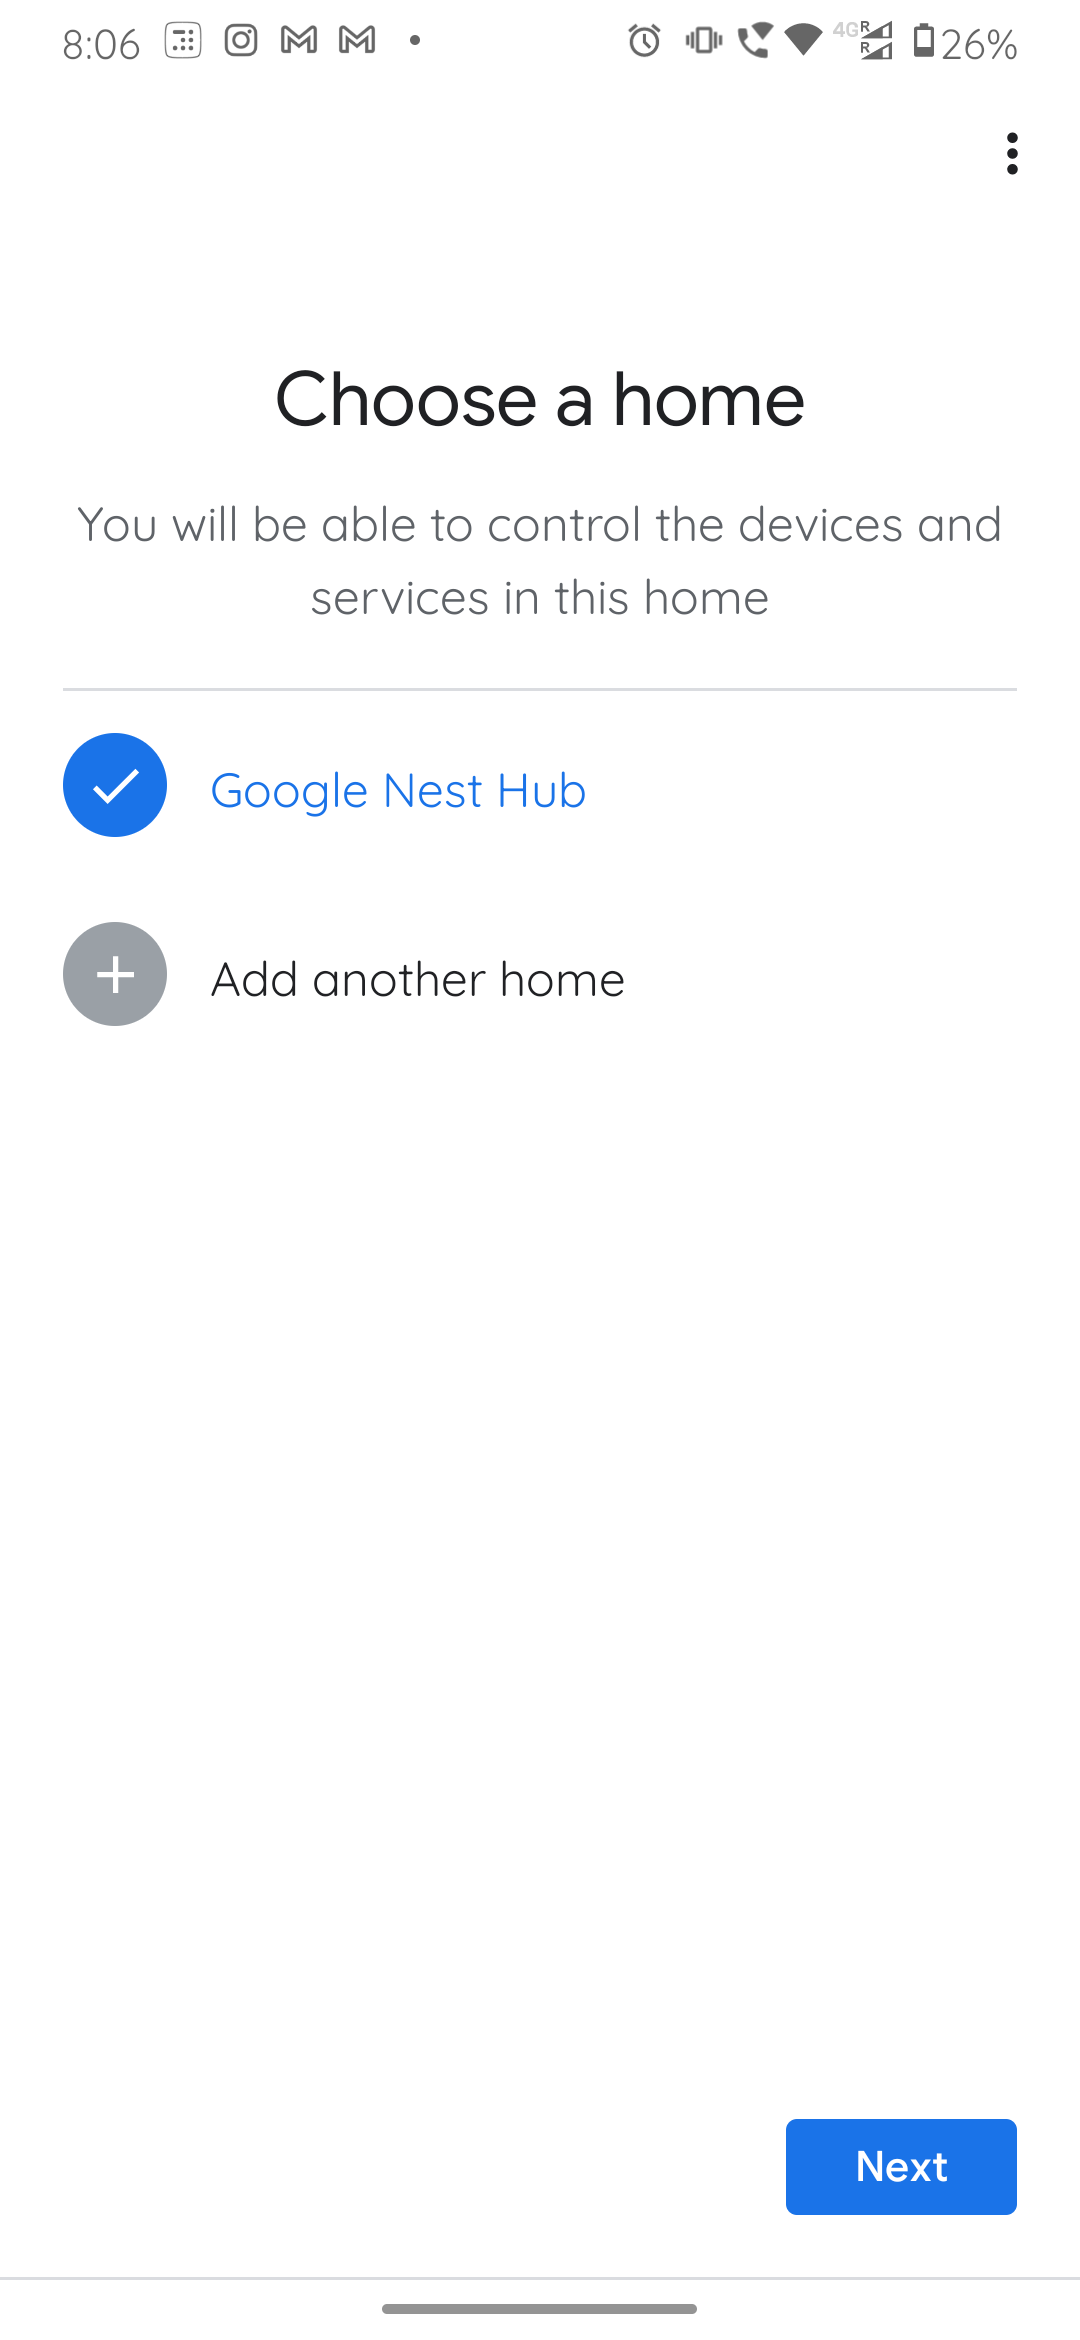
Once you have signed in with your Google Account, then you have to either create a Home or have to choose a preexisting home already created on your Google Home device. To create a new home you need to go to the menu option on the left hand side (plus sign). On that menu click the option of “Create New Home”. You will be asked to give a name to this home as well. Choose anything you like, such as “Lily’s Home”, “Jack’s Den”, etc. Once you have given a name to your new Home on the Google Home App or have chosen a preexisting you may proceed to add your home.
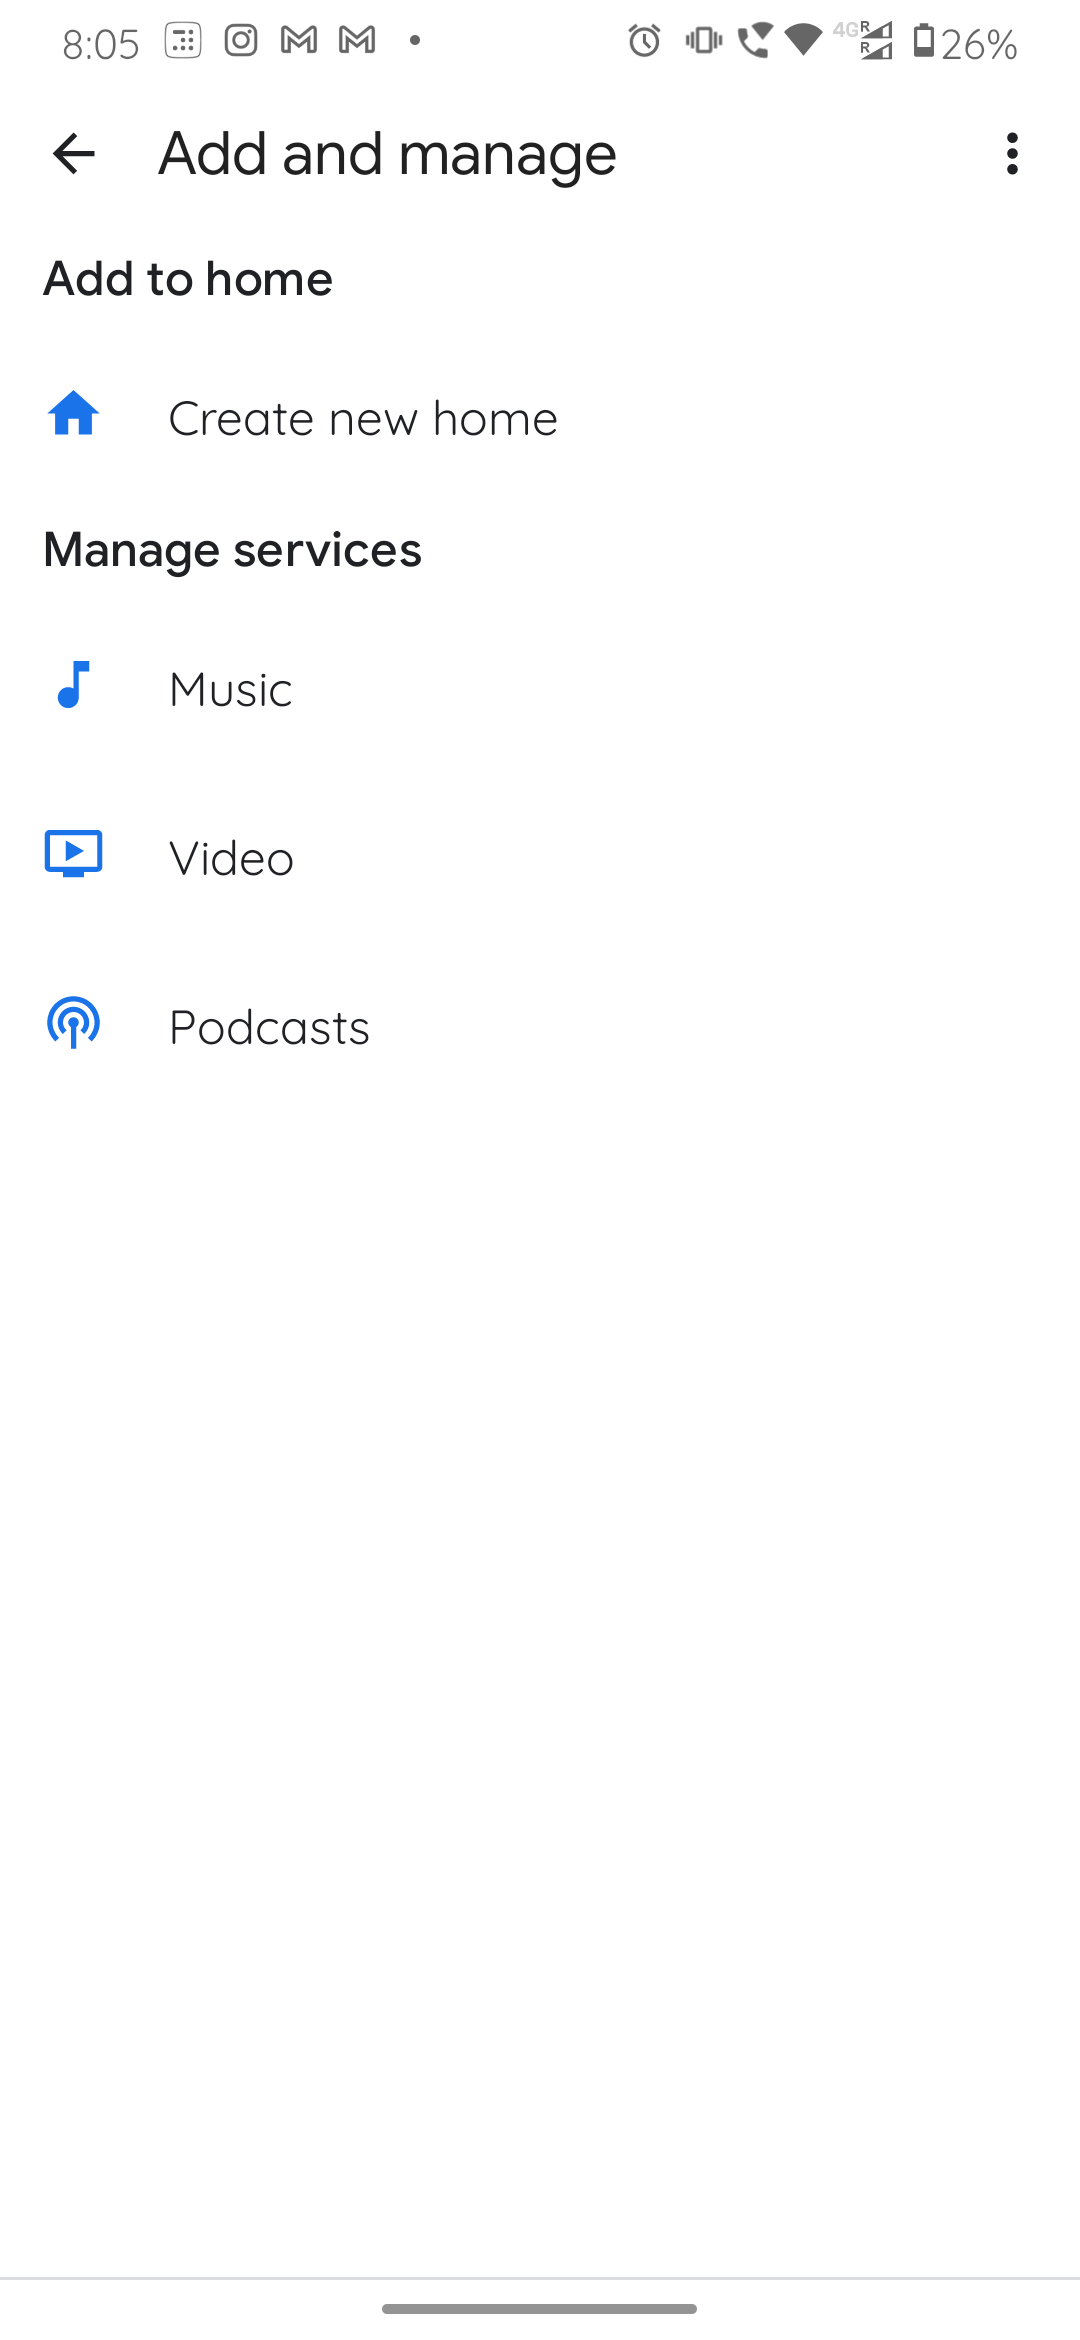
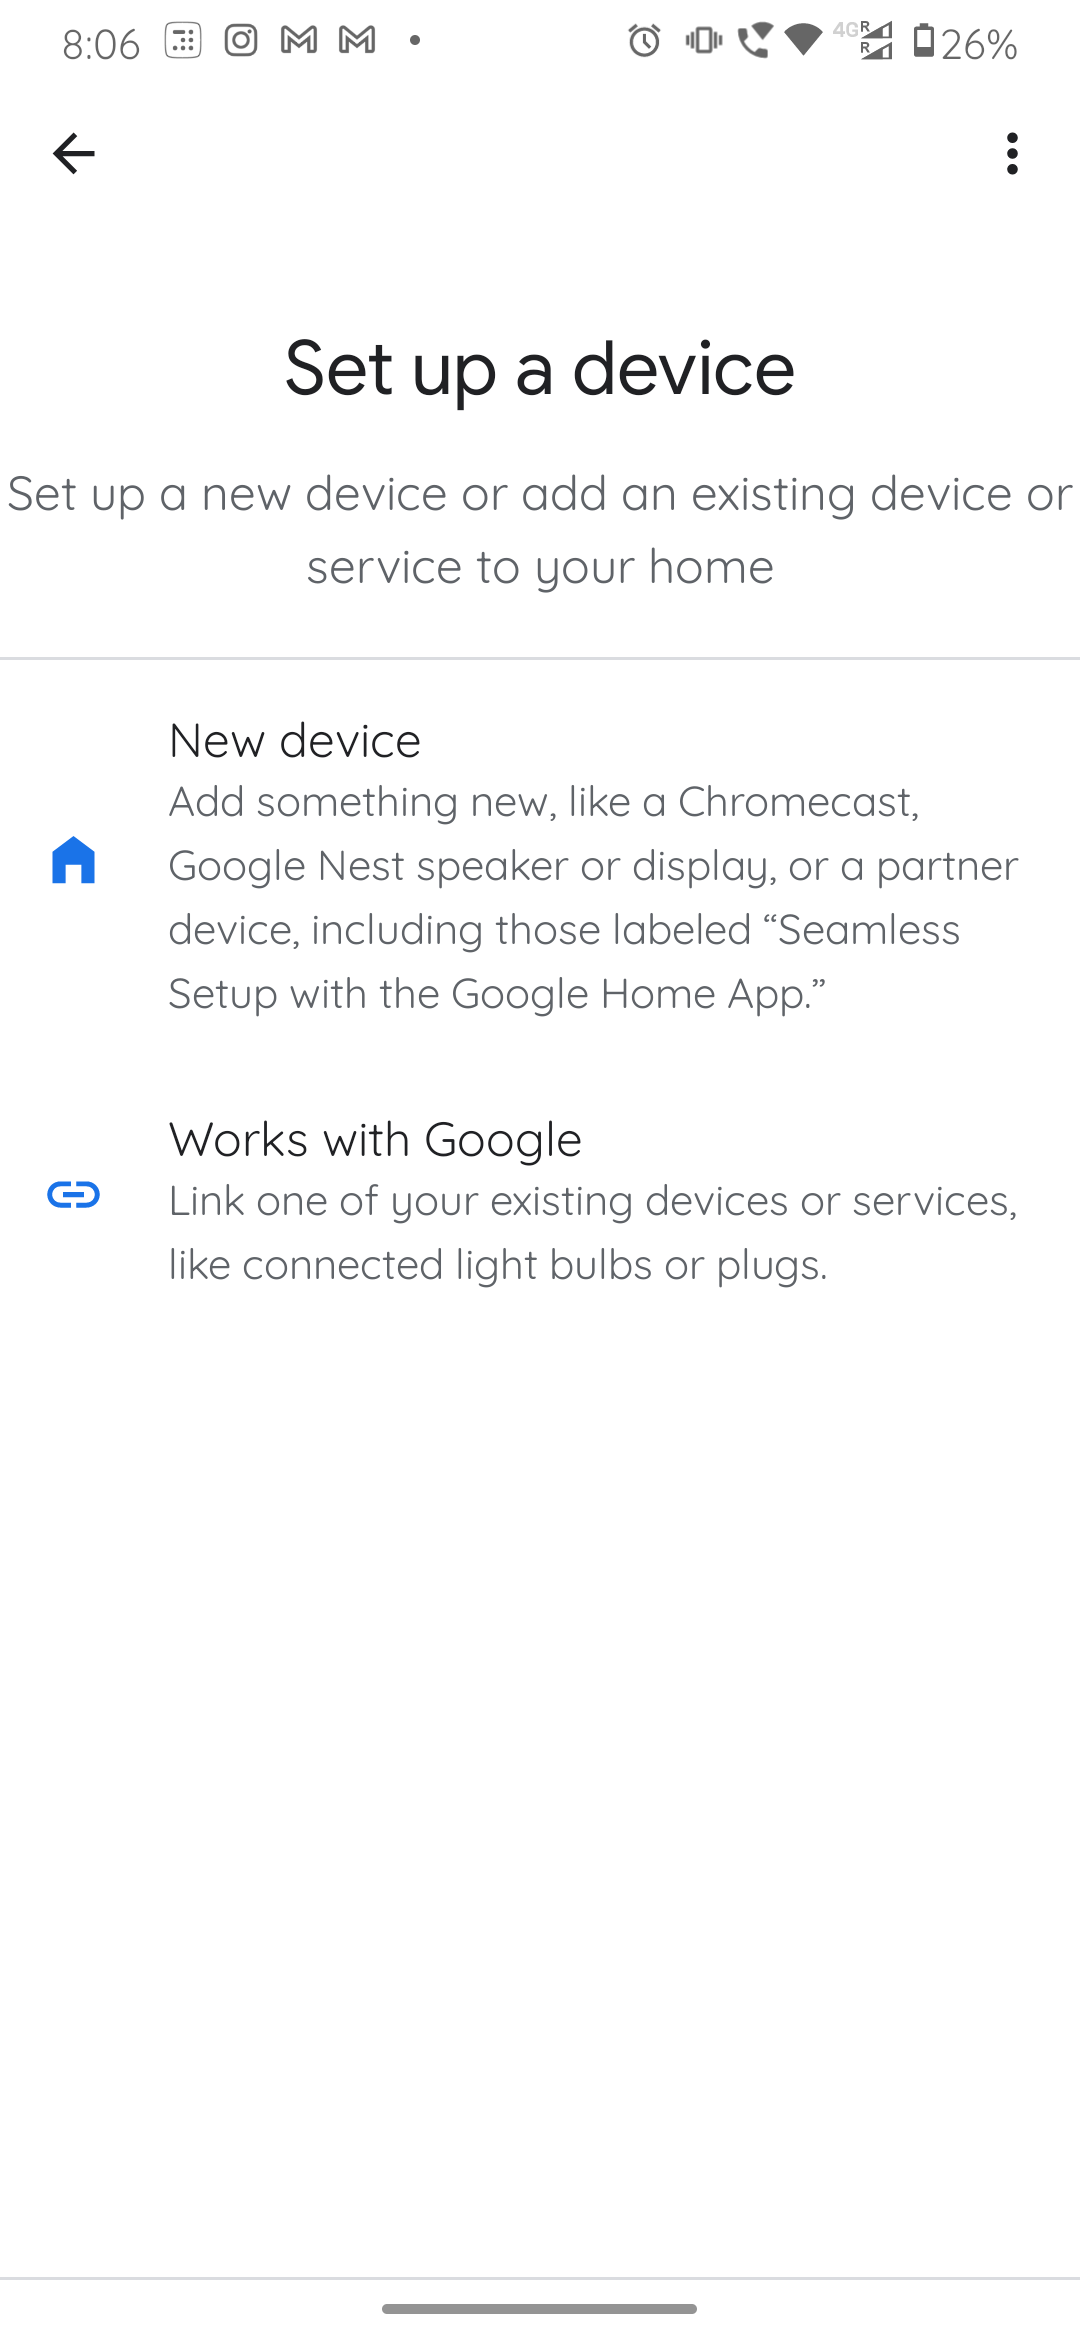
Step 4: Add the Device
After creating a new home click on it and select the option to “Set up a Device” and there you will see the option to add a “New Device”. Once you select the option to add a new device you will be prompted with the option to choose the home that you want to add the device to. You can then choose the Home and click on OK.
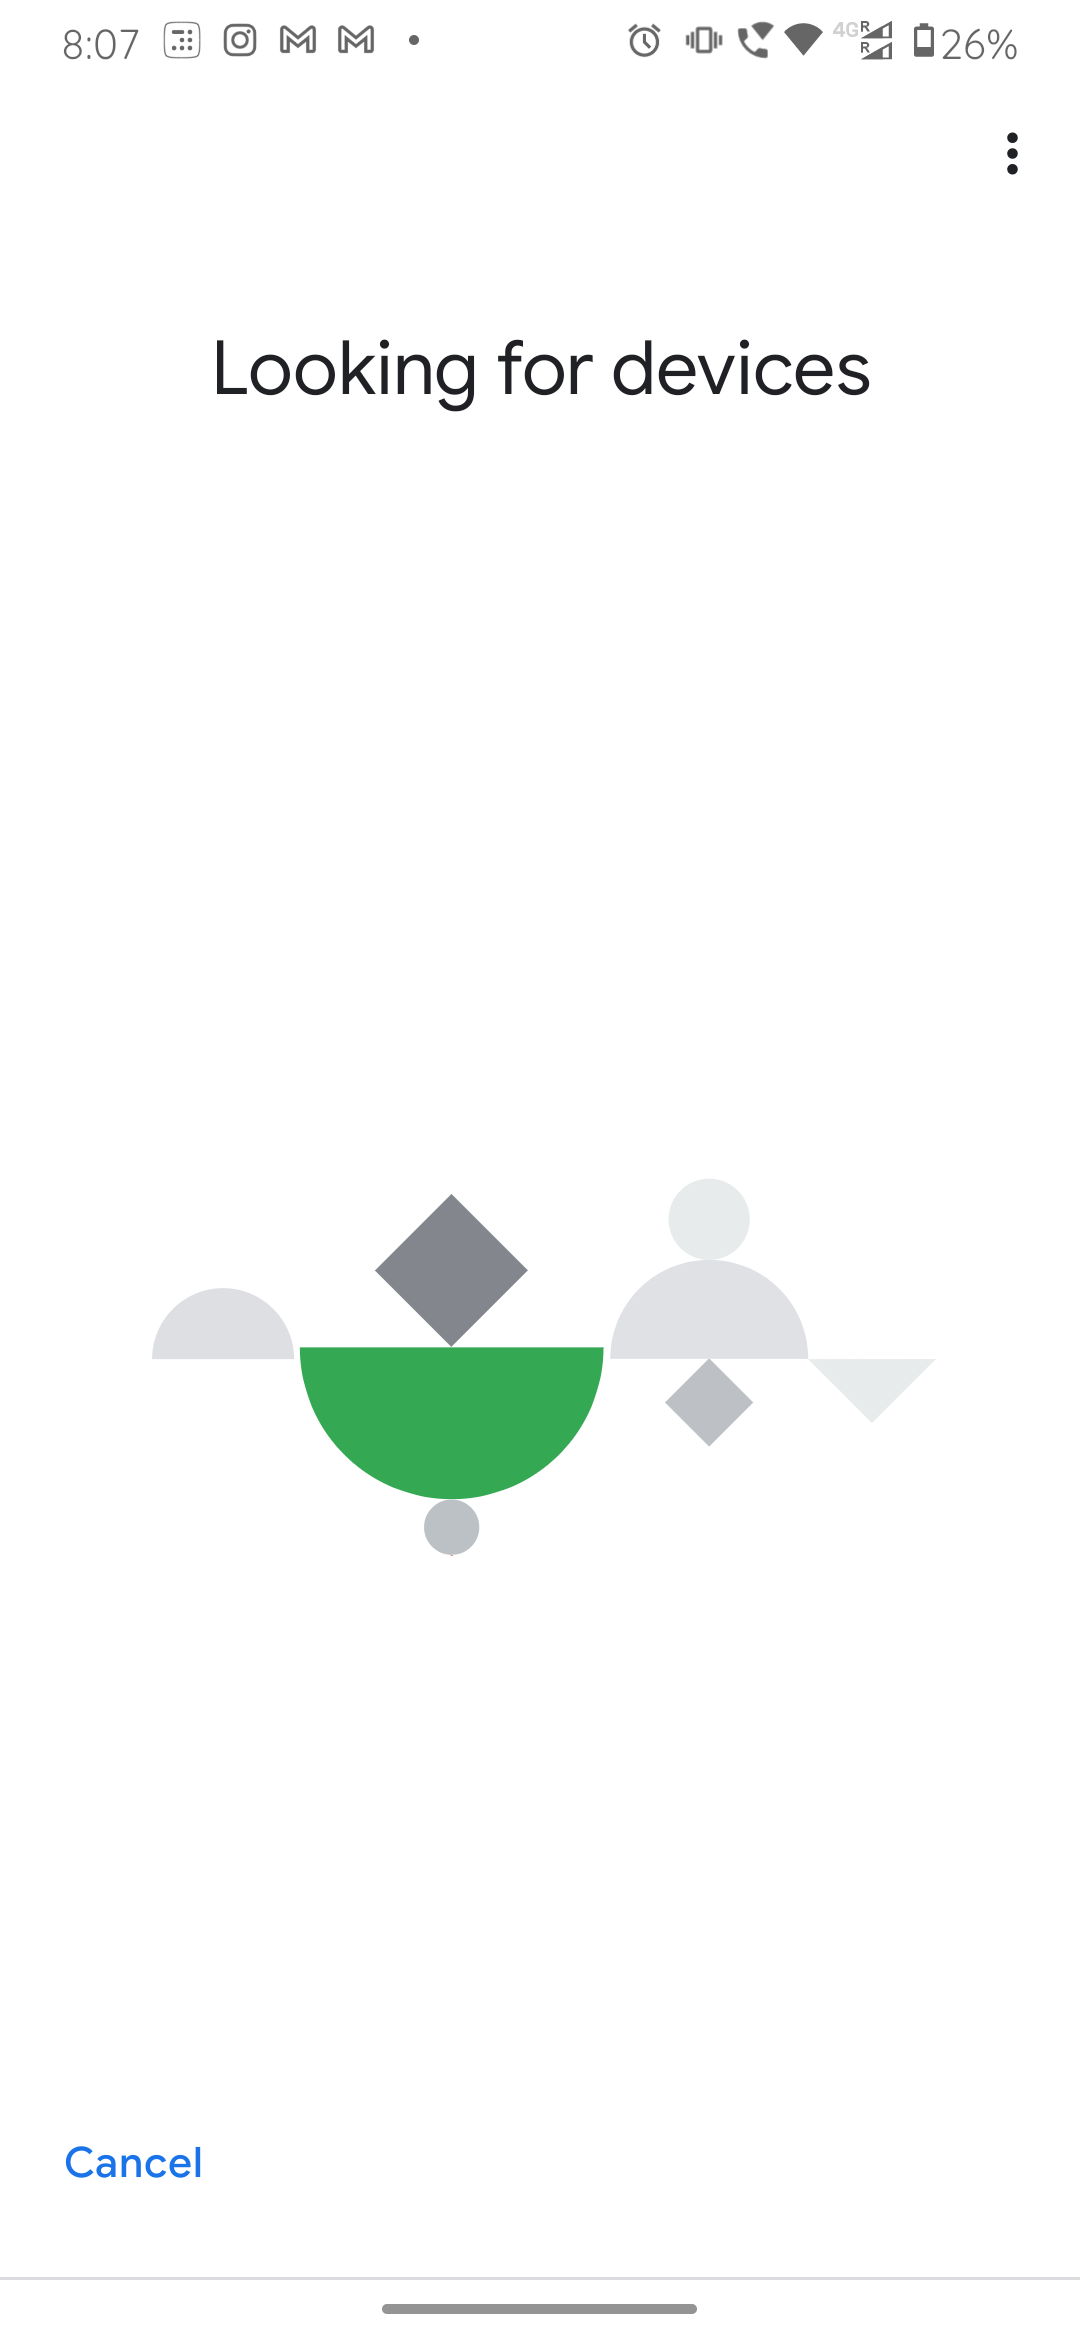
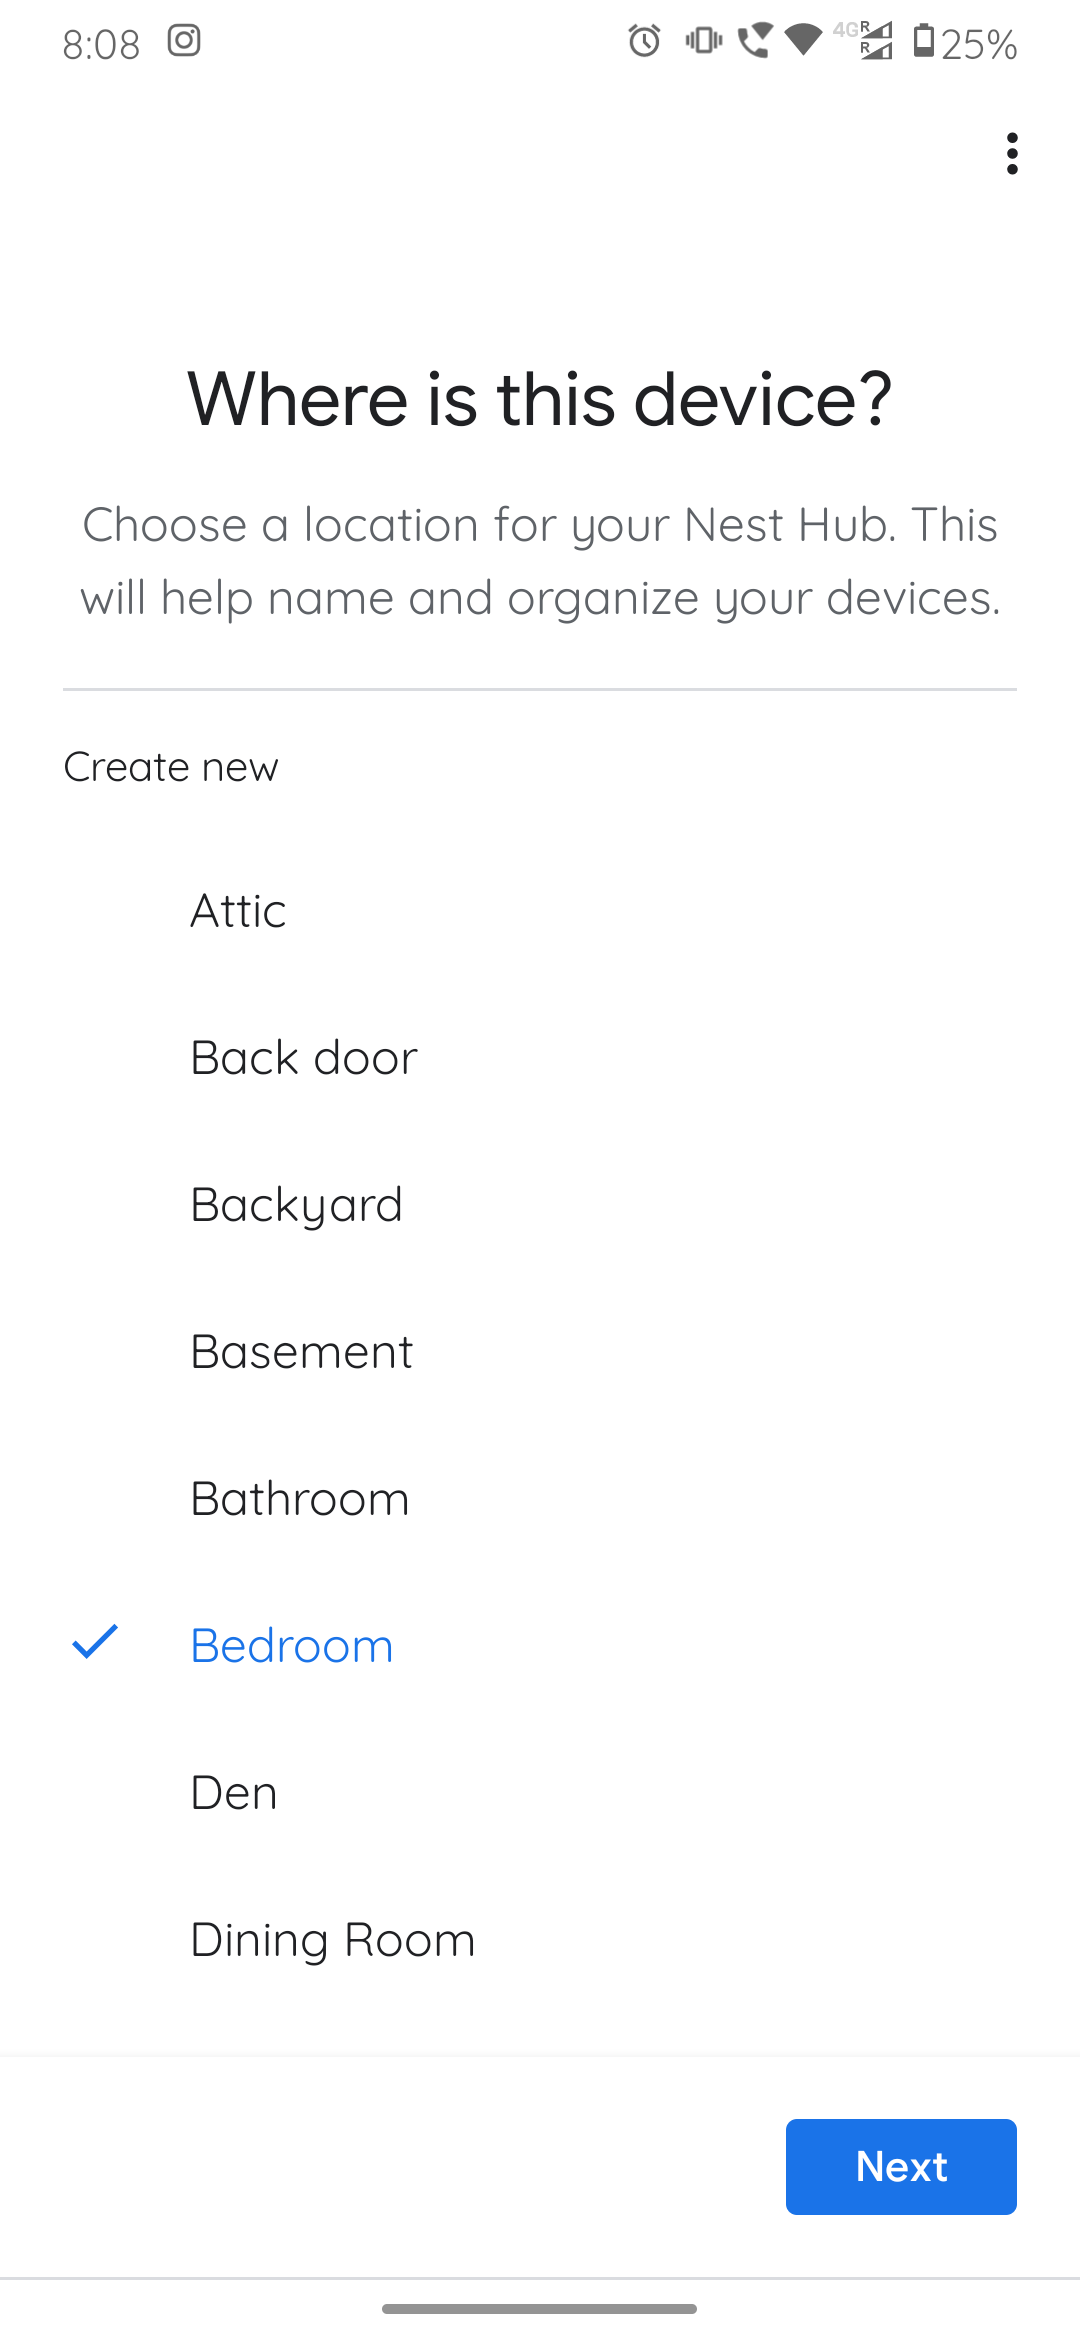
Step 5: Connect Via Bluetooth
Once you have chosen the home, your mobile phone or your tab will start searching for your Nest Google Hub via Bluetooth. If your Bluetooth on the device is not turned on, the Google Home App will prompt you to switch on your Bluetooth option. Once the device has searched for your Google Nest Hub it will prompt you to select the device. Click on yes. After connecting with the device it the Google App will ask you to select the room in which the device is placed for your convenience.

Step 6: Connect to Your Wi-Fi
and have selected the room where your device is, you will now be asked to connect to your Wi-Fi and enter your password. After choosing the Wi-Fi name and entering the password click on OK and wait for the device to connect with your Google Nest Hub. After this your Google Nest Hub will automatically connect to your Google App and your device will automatically start updating.

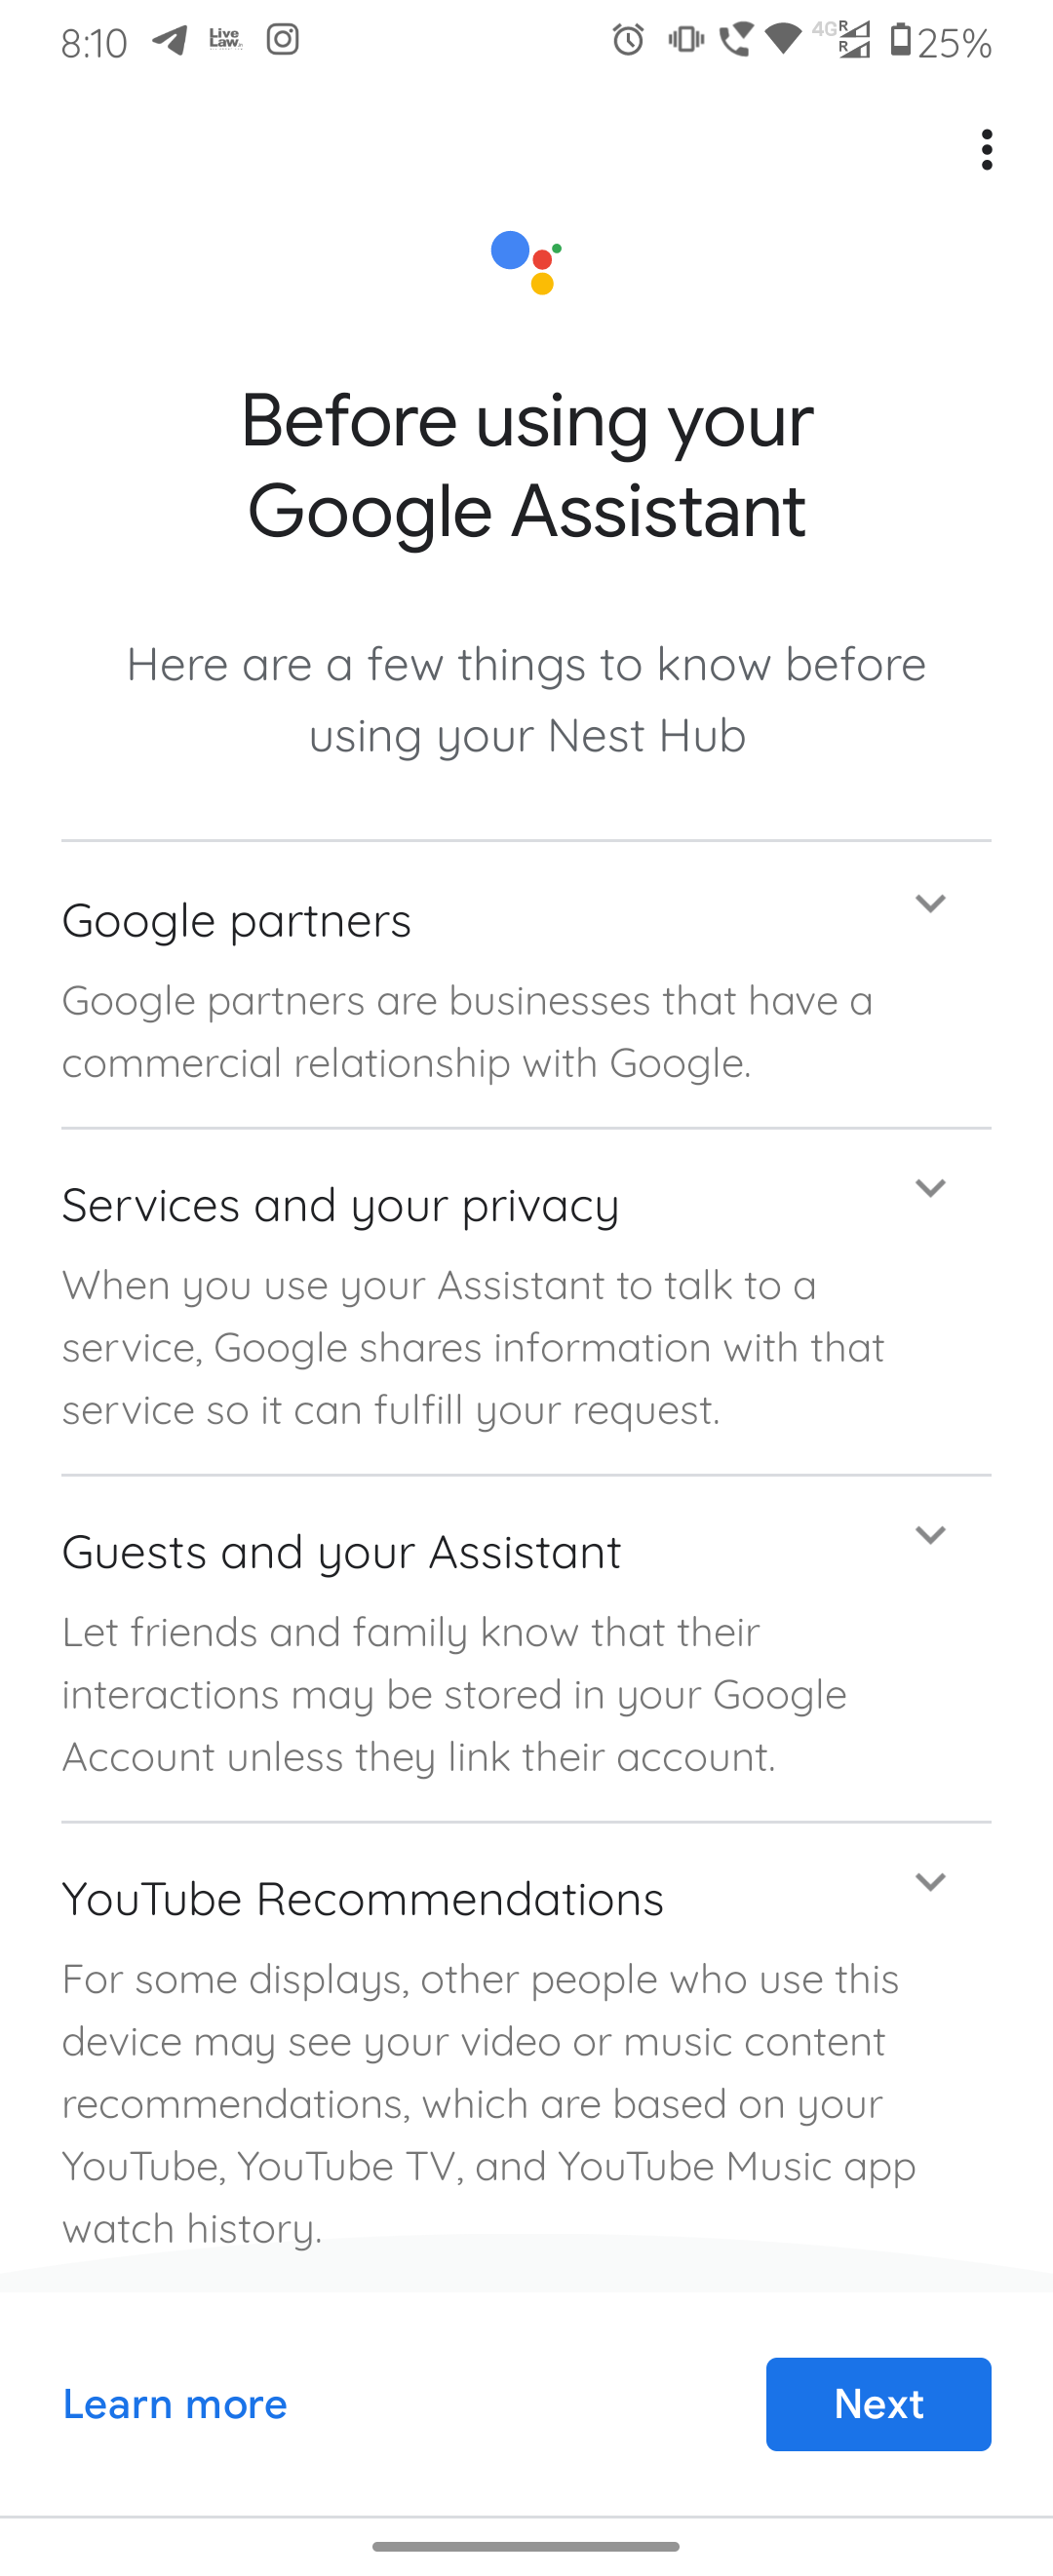
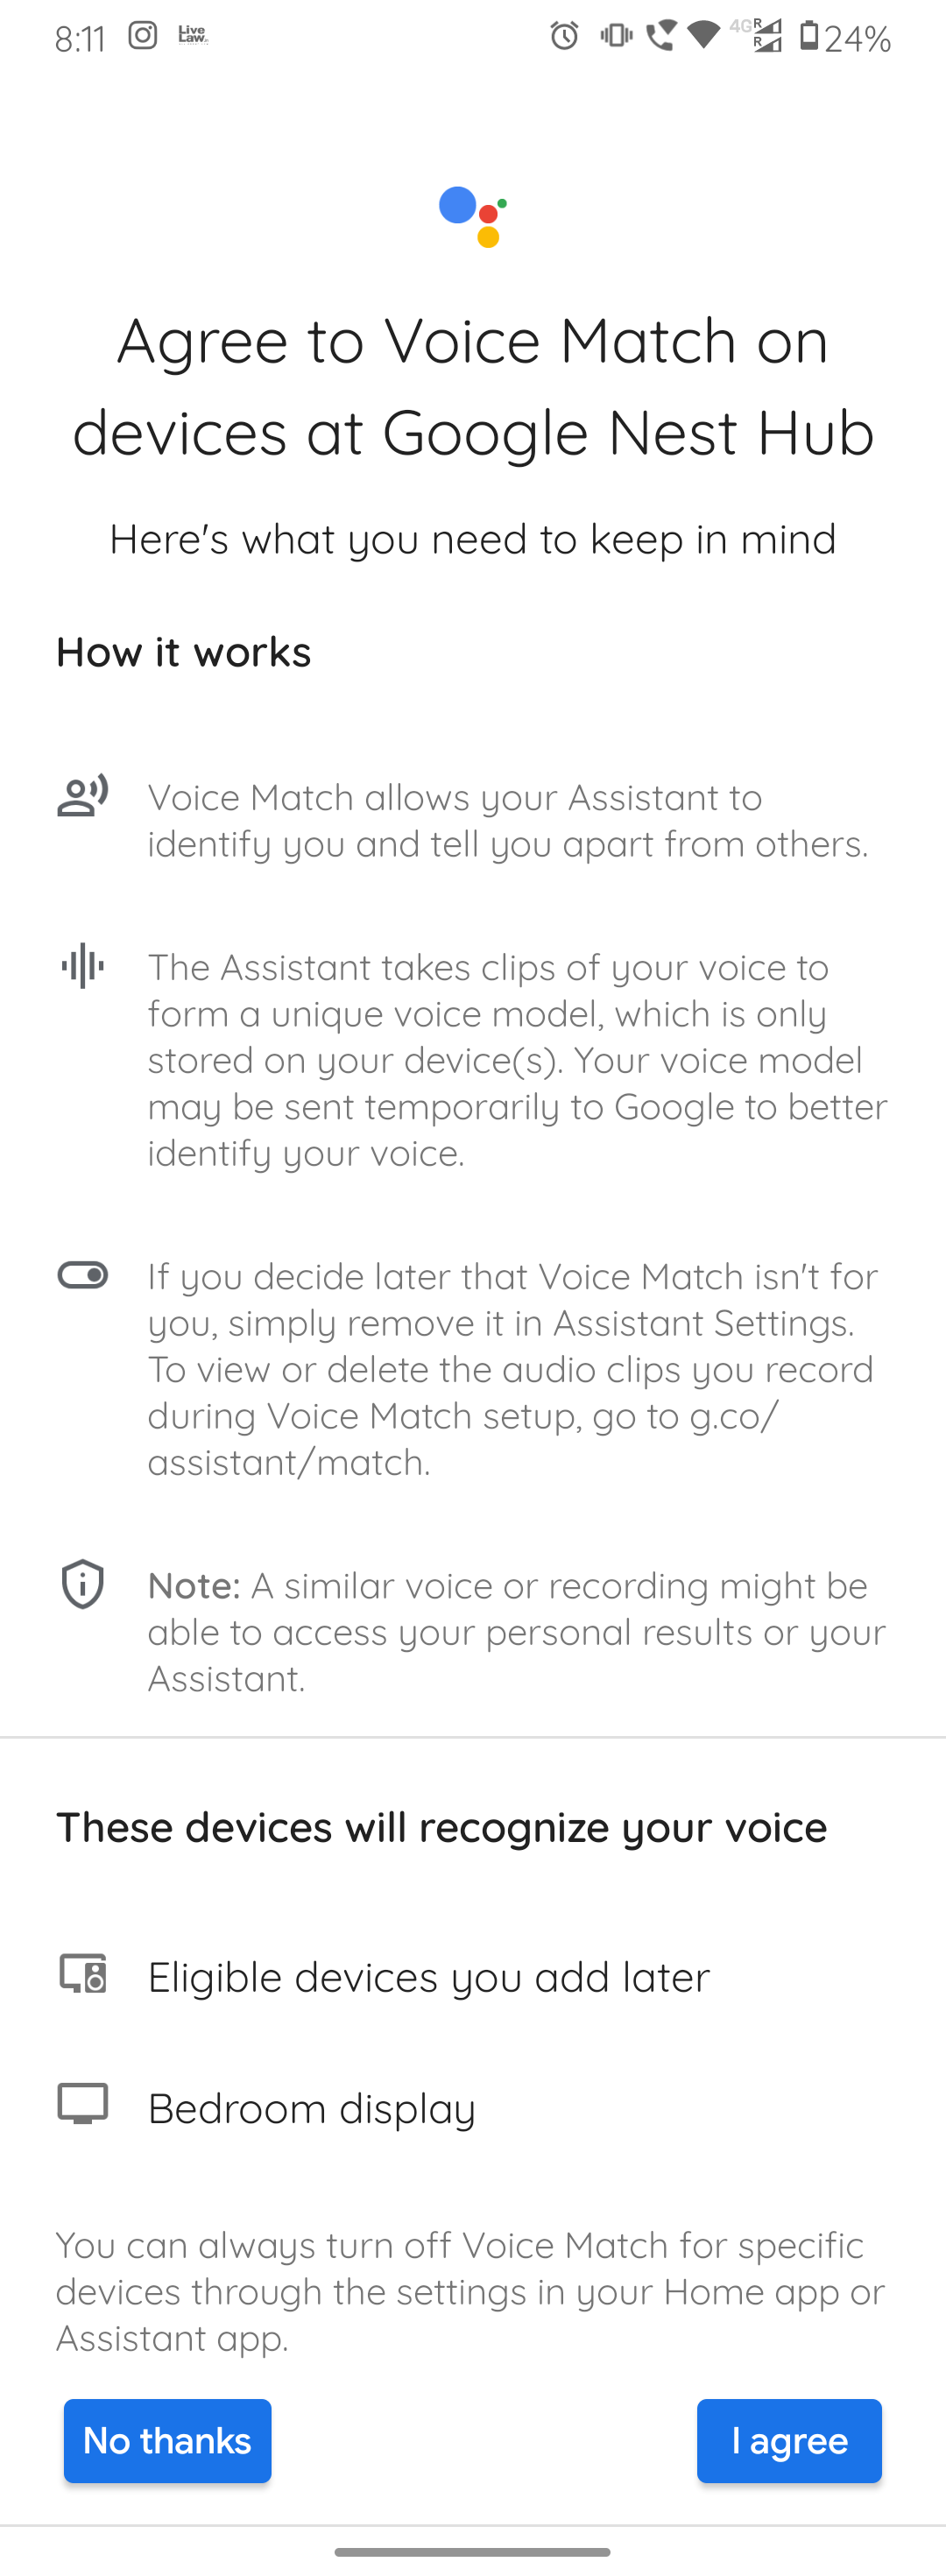
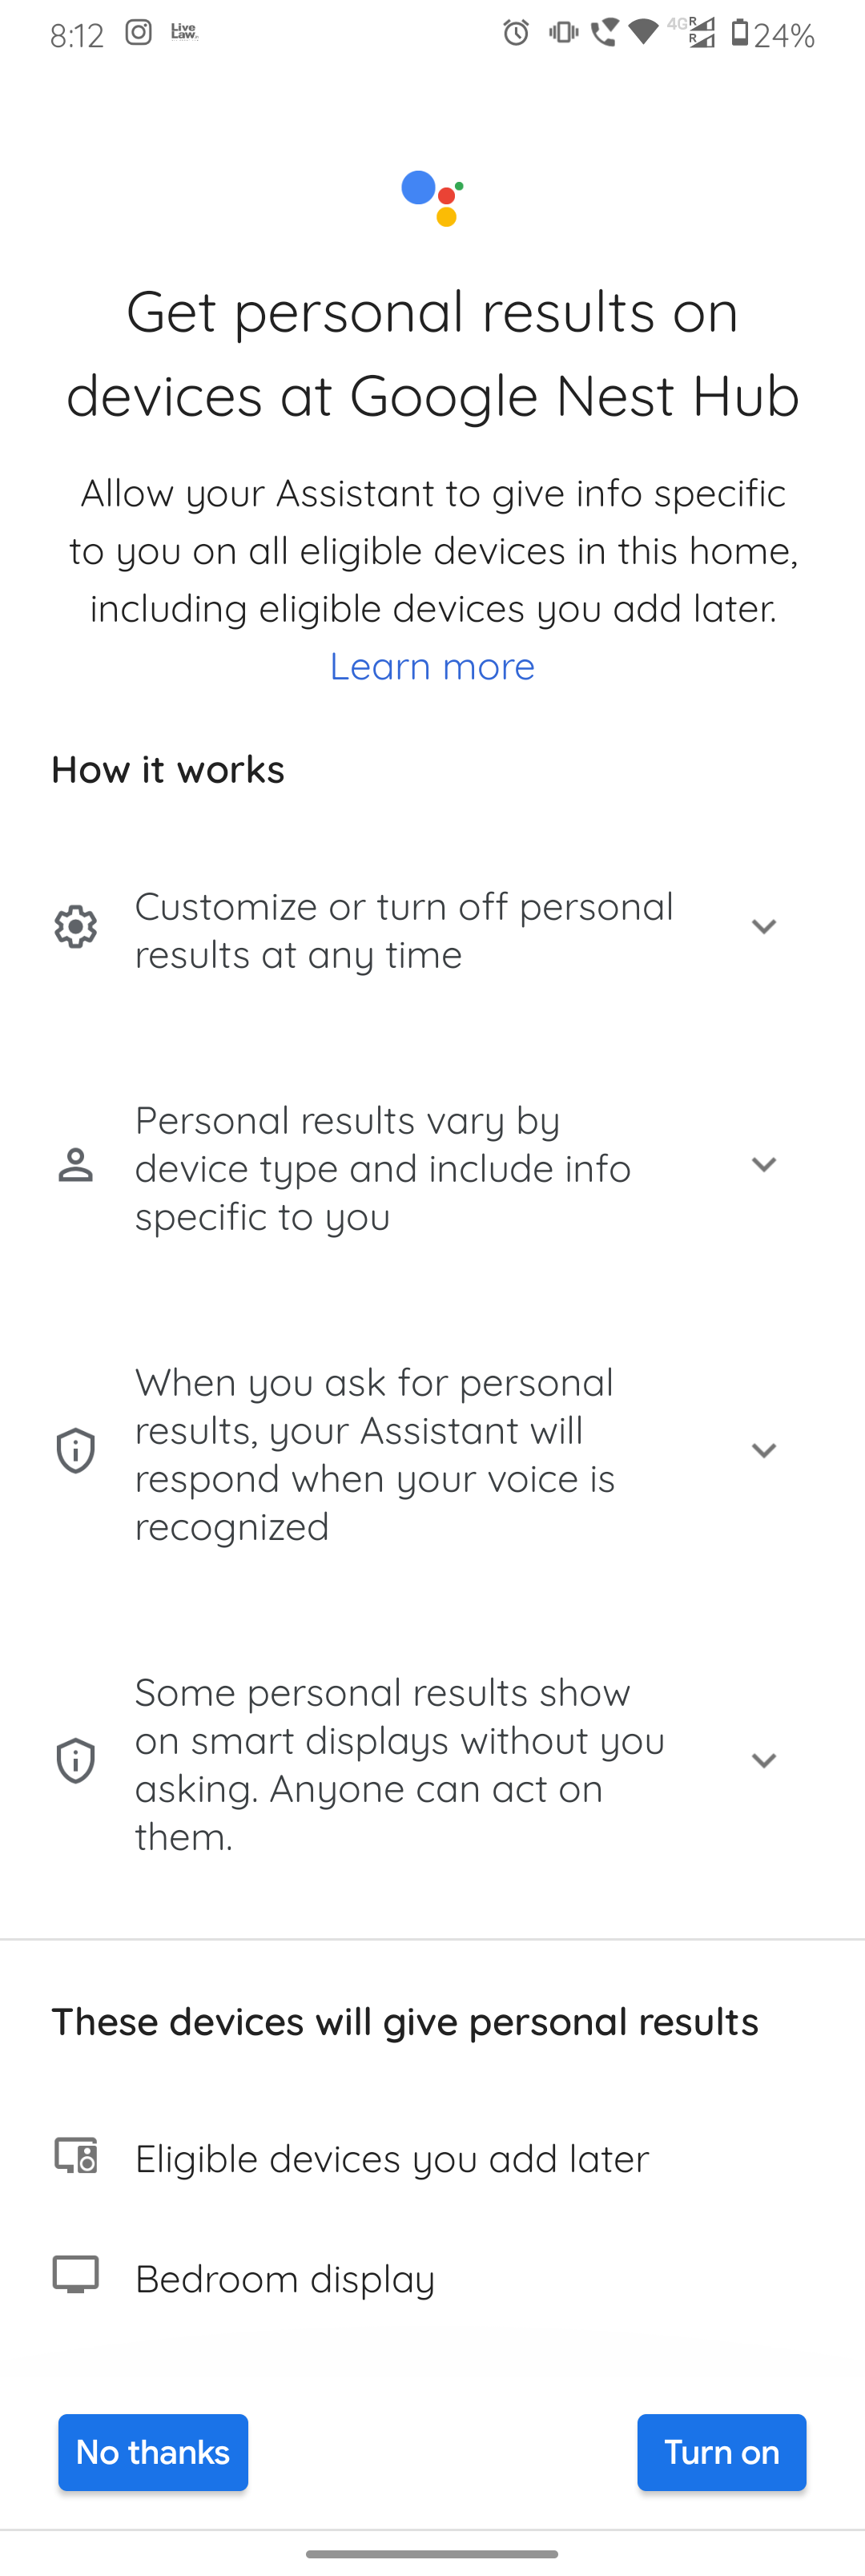
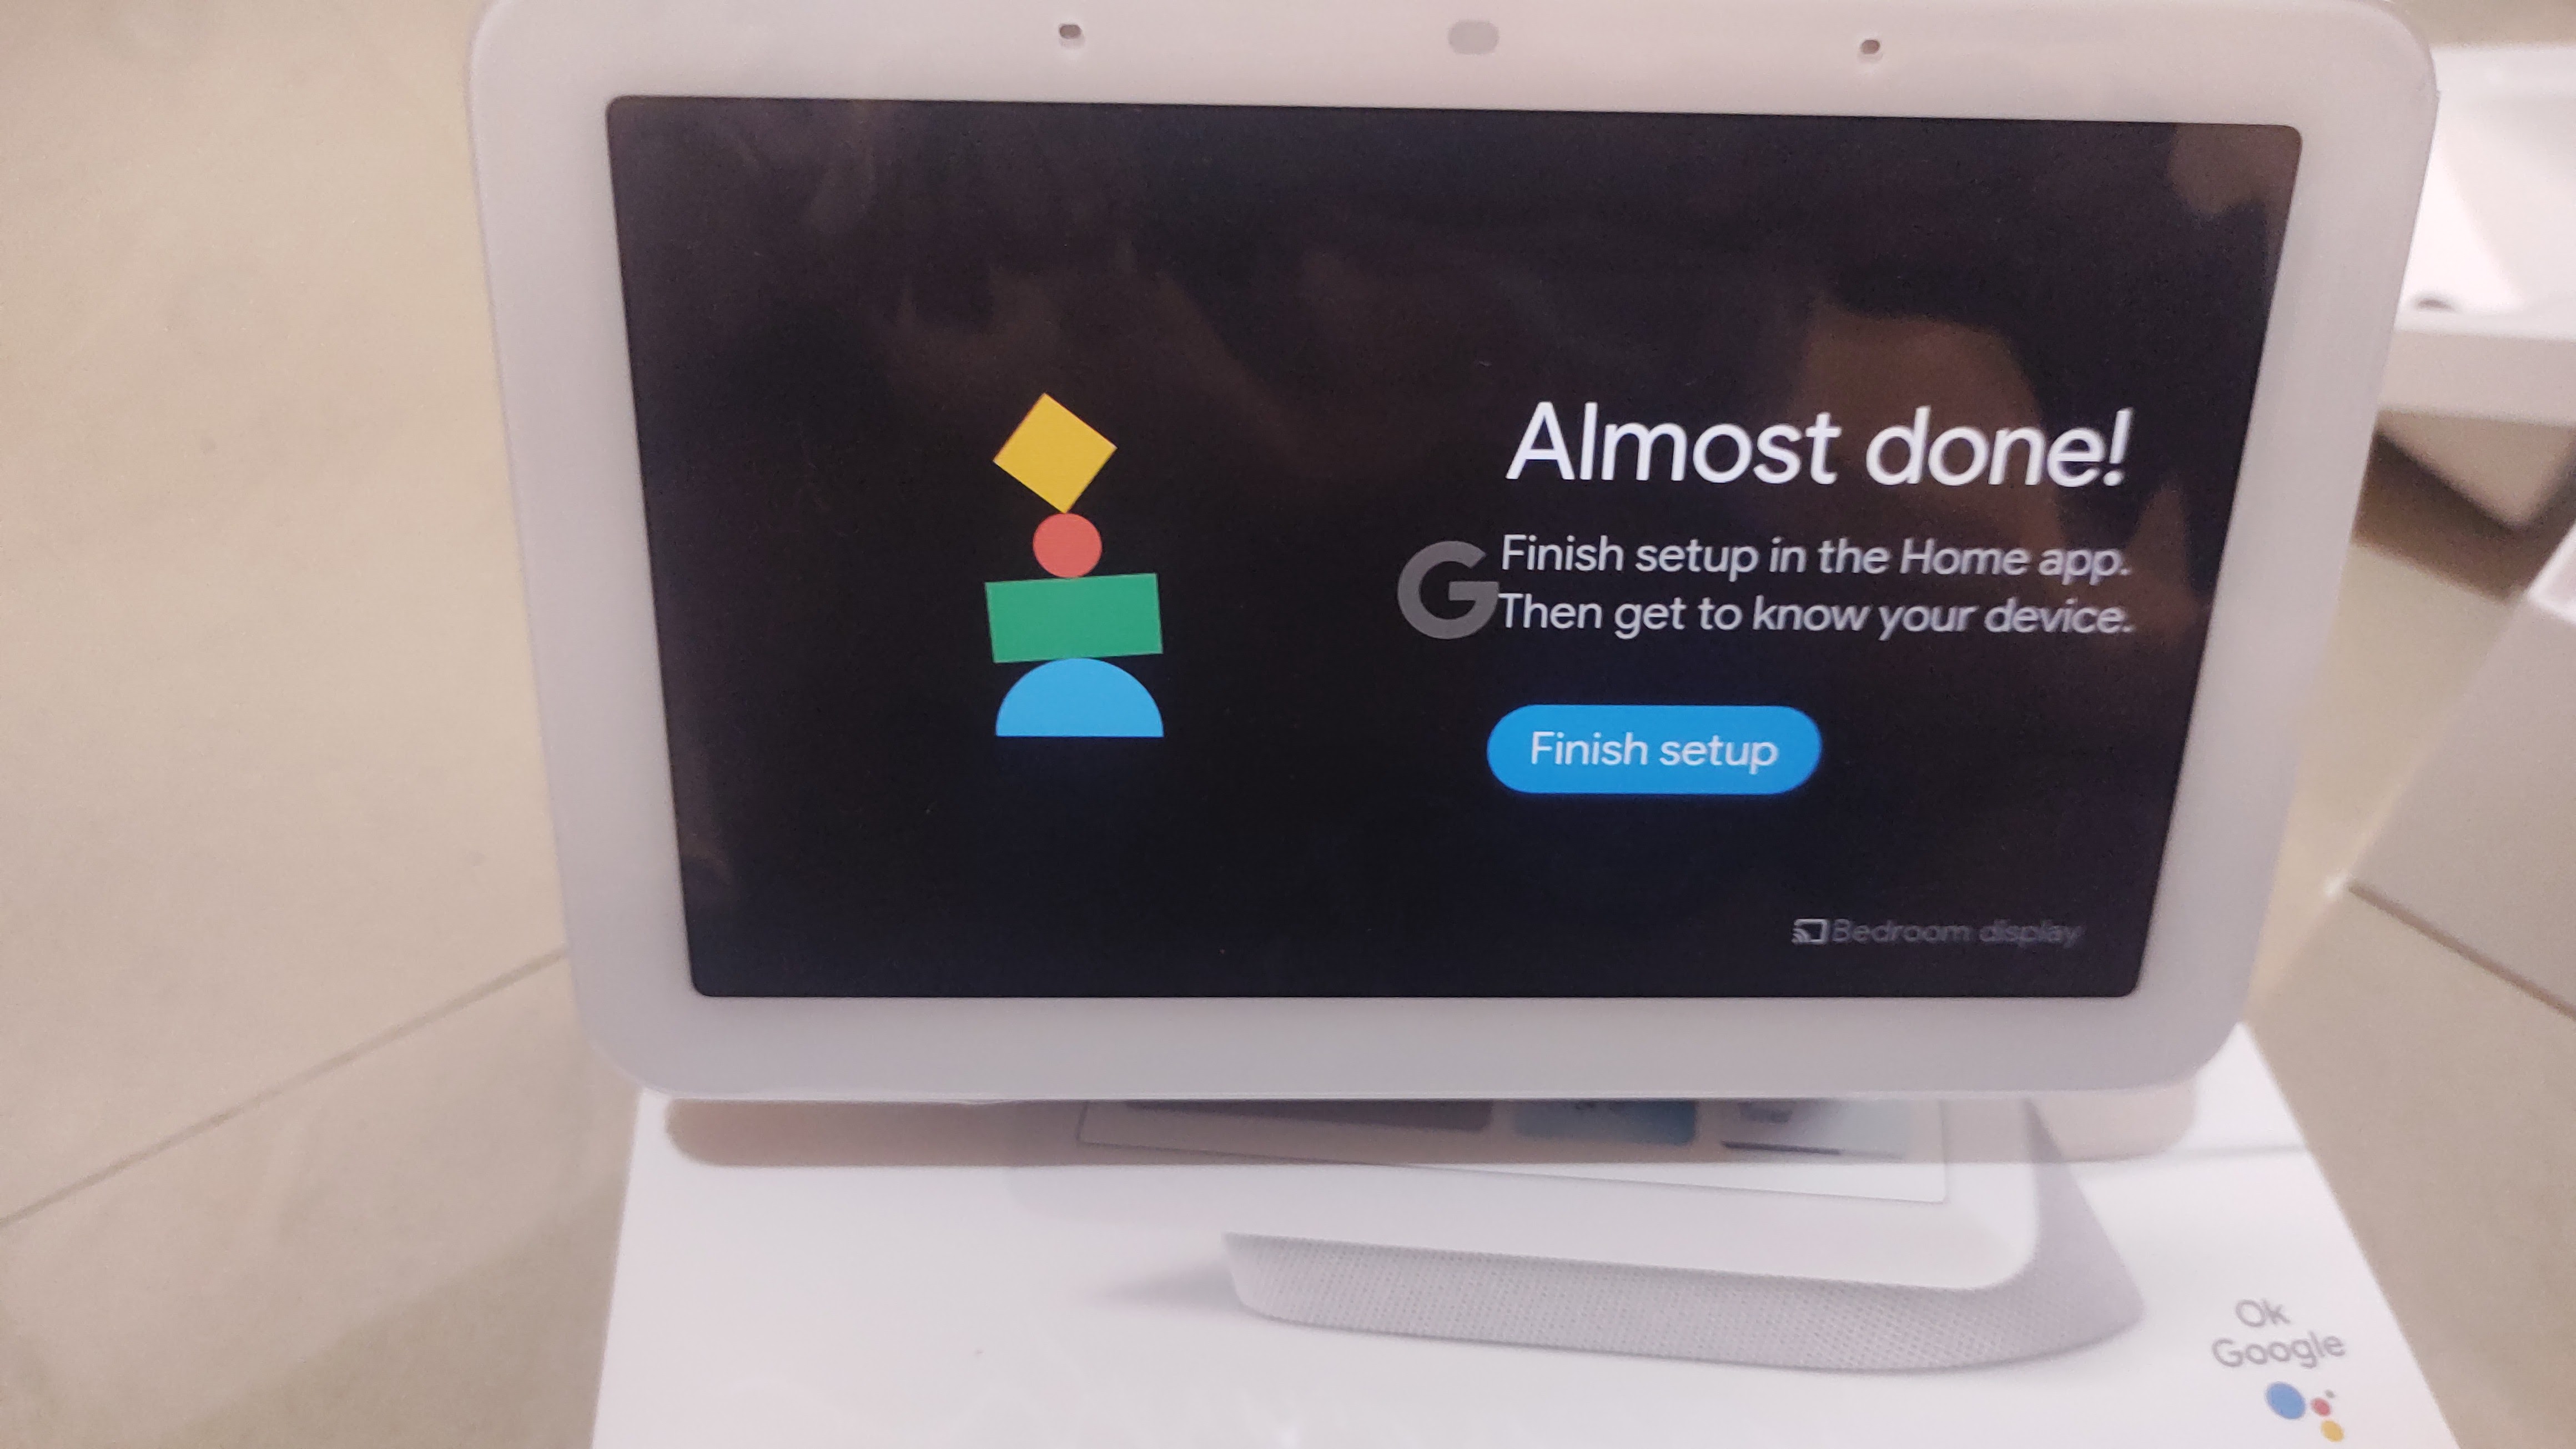
Step 7: Giving Permission
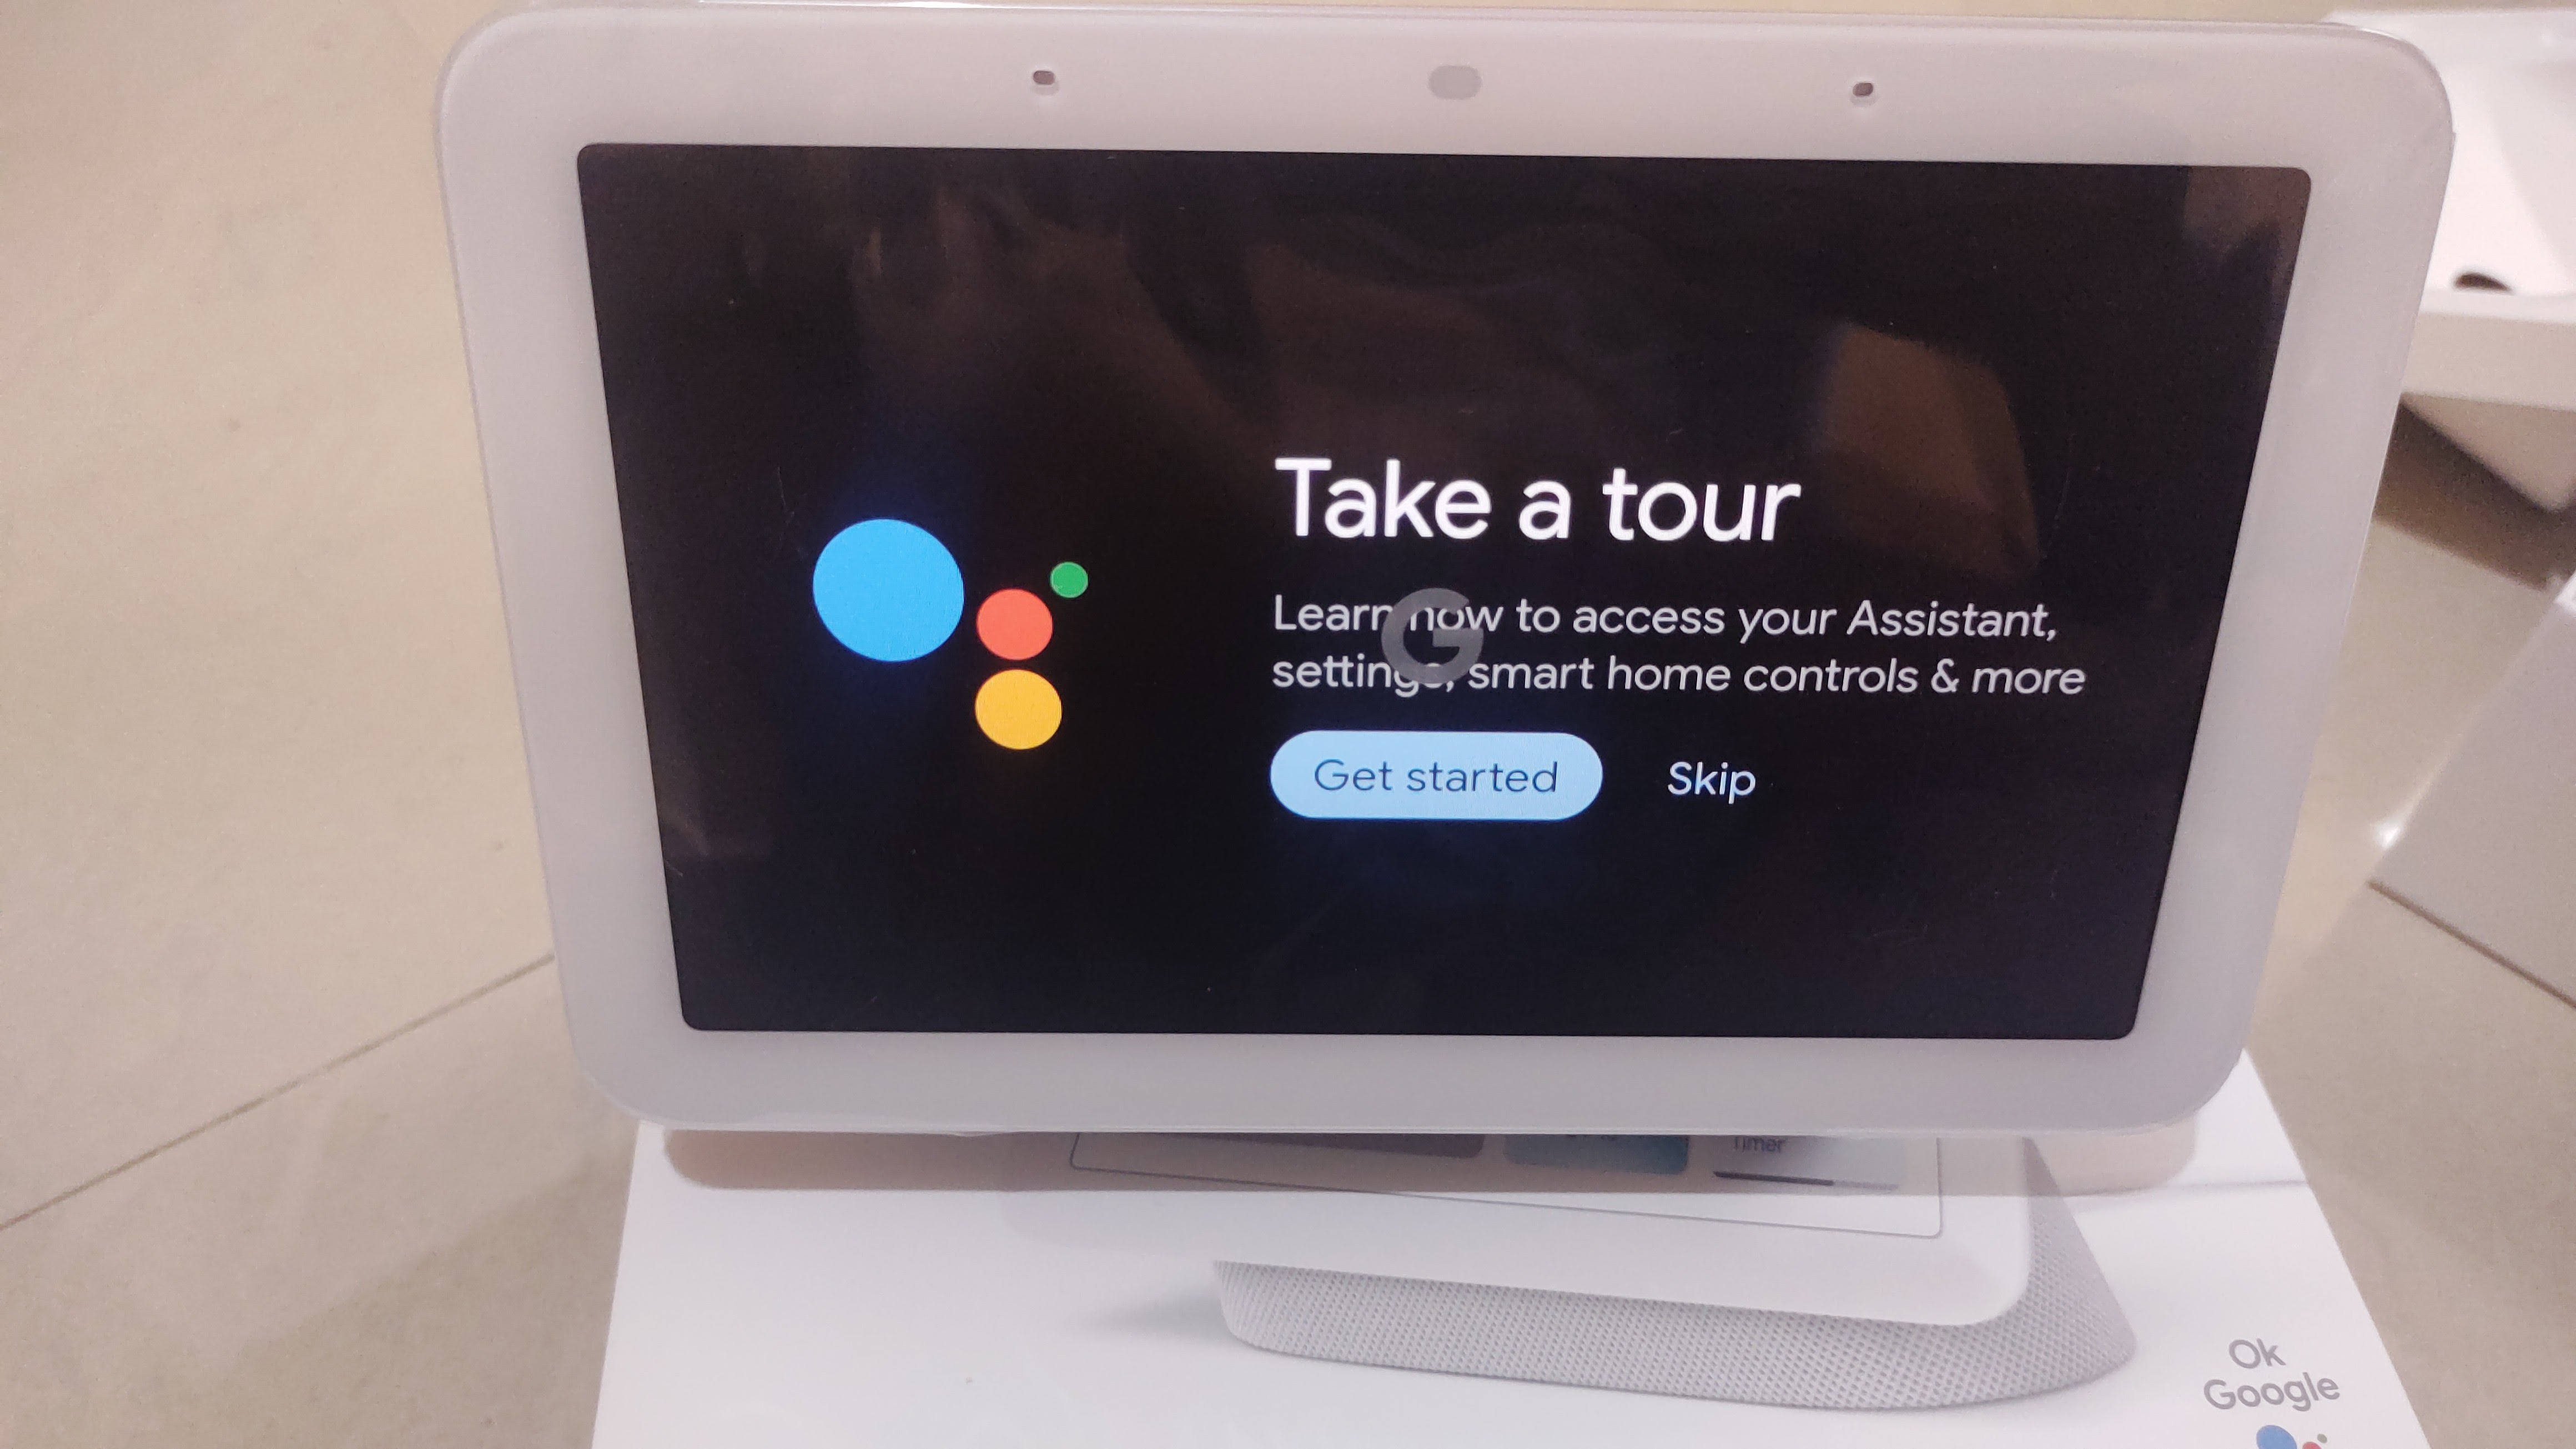
Once you are done connecting your device and signing in your Wi-Fi on your Google Nest Hub, your device will update and restart before being ready to use. Once it is done you will be prompted to read certain policies and give certain permissions to your Google App on your mobile phone such as Agreeing to Voice Match, Location Permission, Share Personal Results with Google for best results, etc. You can choose to either accept or decline these permissions depending on your preferences and get the best desired result out of your Google Nest Hub.
Your Google Next Hub is now ready to use, you will be taken on a device tour by the Google Assistant to help you better understand how to operate the device and get the most desired results out of it.
Getting Problems While Setting up the Google nest hub?
Troubleshooting Steps for Setting Up Your Google Nest Hub
Setting up your Google Nest Hub is typically a straightforward process. However, if you encounter any issues during the setup, here are some troubleshooting steps to help you get your device up and running:
Check your internet connection: Ensure that your Wi-Fi network is active and working properly. Make sure you have entered the correct Wi-Fi password during the setup process. If your network has a strong signal, but the Nest Hub still fails to connect, try restarting your router.
Positioning and proximity: Ensure that your Google Nest Hub is placed within a reasonable distance from your Wi-Fi router. Physical obstructions like walls or other electronic devices might interfere with the Wi-Fi signal. Try moving the Nest Hub closer to the router during setup to see if it establishes a connection.
Restart your Google Nest Hub: If you’re experiencing issues during setup, try restarting the nest hub. Simply unplug the power cord from the back of the Nest Hub, wait for about 10 seconds, and then plug it back in. Allow the device to boot up, and then retry the setup process.
Check your Google account: Ensure that you have a working Google account and that you are signing in with the correct credentials during setup. Double-check your email address and password to make sure they are accurate. If necessary, try signing in to your Google account on another device to verify that it is working properly.
Update the Google Home app: If you’re using the Google Home app to set up your Nest Hub, ensure that the app is up to date. Check the Google Play Store (for Android) or the App Store (for iOS) to see if there are any available updates. Installing the latest version of the app can help resolve any compatibility issues during setup.
Perform a factory reset: If you are still encountering issues during setup, you can try performing a factory reset on your Google Nest Hub. Press and hold the volume up and volume down buttons simultaneously for about 10 seconds until the screen goes black. Release the buttons, and then follow the on-screen instructions to reset the device to its factory settings. Note that performing a factory reset will erase all data and settings on the device.
Contact Google Support: If you have followed the above troubleshooting steps and are still unable to set up your Google Nest Hub, it’s recommended to reach out to Google Support for further assistance. They have specialized knowledge and tools to help diagnose and resolve any specific issues you may be facing.
Frequently Asked Questions
What if I get the error message ‘Something went wrong’ repeatedly?
If you receive the error message “Something went wrong,” it may indicate that you are not a member of the home in which the device was initially set up. Contact the person who created the home and request to be added as a member. Additionally, try retrying the setup flow, as there could be a temporary wireless connection issue causing the error. If the problem persists, consider providing feedback about speakers or displays to report the issue to Google.
Can I set up my Google Nest Hub without a smartphone?
No, a smartphone or tablet is required to set up a Google Nest Hub. The Google Home app, available on mobile devices, is essential for the configuration and connection of the device to your Wi-Fi network. Without a smartphone or tablet, it is not possible to complete the setup process.
Can I connect my Google Nest Hub to other smart home devices during setup?
Yes, you can connect and integrate other compatible smart home devices with your Google Nest Hub during the setup process. The Google Home app provides options to discover and set up compatible devices, allowing you to create a cohesive smart home ecosystem controlled by your Google Nest Hub.
How do I connect my Google Nest Hub to Wi-Fi during setup?
To connect your Google Nest Hub to Wi-Fi during setup, open the Google Home app on your smartphone or tablet. Follow the on-screen instructions provided within the app to establish a connection between your Google Nest Hub and your Wi-Fi network. You will be prompted to enter your Wi-Fi password during this setup process to ensure a secure connection.
What should I do if the Google Home app is unable to find my Google Nest Hub during setup?
If the Google Home app is unable to detect your Google Nest Hub during setup, ensure that both devices are connected to the same Wi-Fi network. Check that your smartphone or tablet has a stable internet connection. If the issue persists, try restarting both the Google Nest Hub and your mobile device, and then retry the setup process.
Conclusion
Setting up your Google Nest Hub is a simple procedure. It hardly takes 10 minutes and the process is pretty much self explanatory. Once you have set up your device, it practically teaches you everything there is to know about it on its own.
I hope that this article helped with the steps and explained the procedure in a simple and effective manner. Do let us know in the comments below what you liked about the article, and if you have anything else to add.

Passionate about tech gadgets, I turned my love into a blogging journey. Specializing in how-to articles, I unravel the intricacies of gadgets, providing step-by-step guides. Join me in exploring the tech universe, where every device holds endless possibilities. Let’s simplify the complexities and enhance your tech experience together.