The setup of Amazon’s Echo Show 5 isn’t complicated. Before you begin the setup procedure, make a note of your WiFi network name and password, as well as your Amazon login credentials. This step-by-step guide will walk you through the setup process.
Before You Begin
Make sure you have the following before beginning the setup process:
- Amazon Echo Show 5 device
- Stable Wi-Fi connection
- Amazon account with login details
- Preferred language for the device
- Time Zone and Address details
- A room where you plan to place the Echo Show 5
Step 1: Plugin
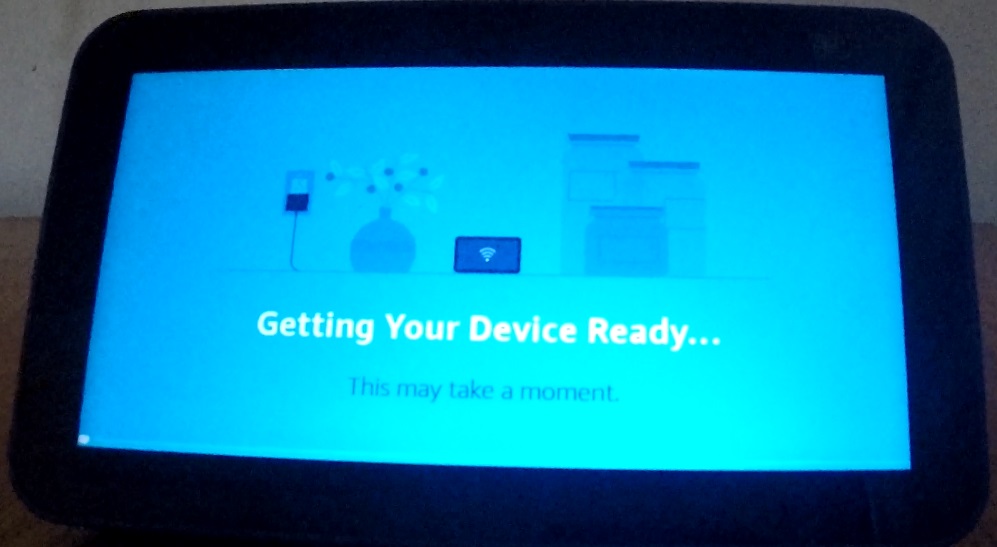
Plug in your gadget and turn it on wherever you want it to be. The device will take around 60 seconds to turn on. On the screen, you’ll see a wallpaper that says “Getting your device ready.”
Step 2: Select the Preferred Language
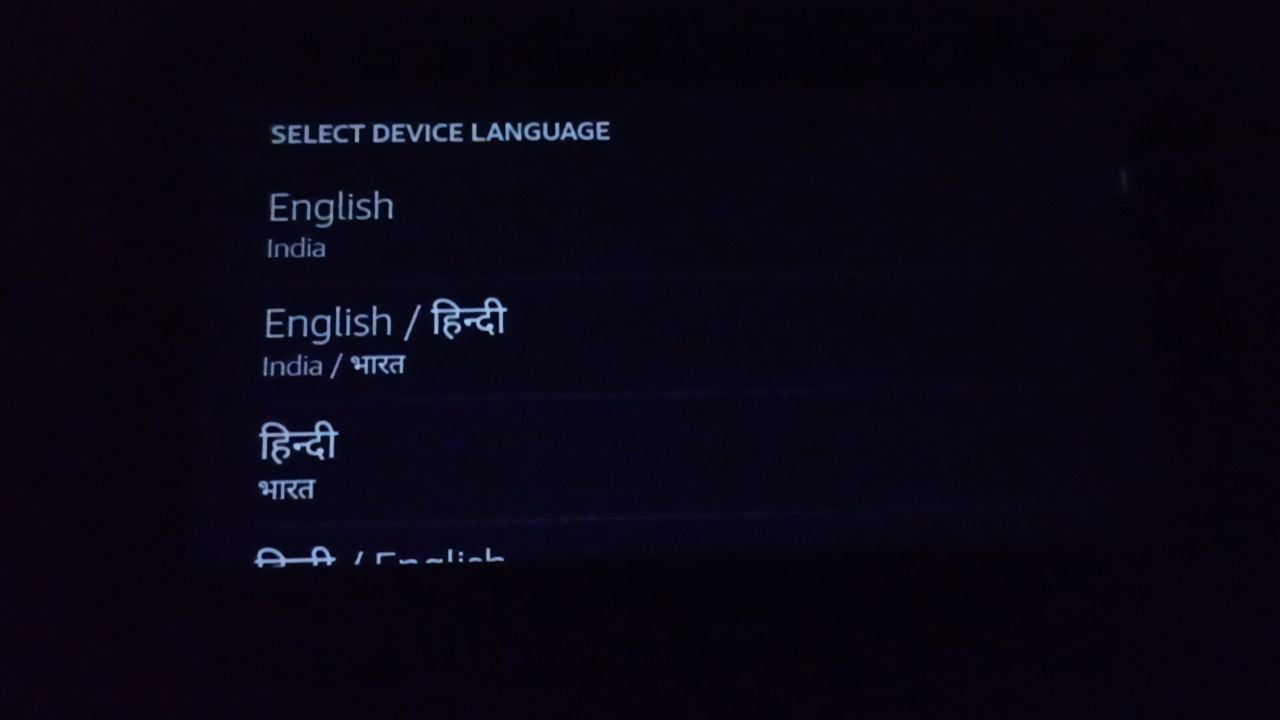
The next screen will prompt you to select your preferred language. You can select your favourite language by scrolling down the screen. This is the language in which you can communicate with Alexa too.
Step 3: Add the WiFi Information
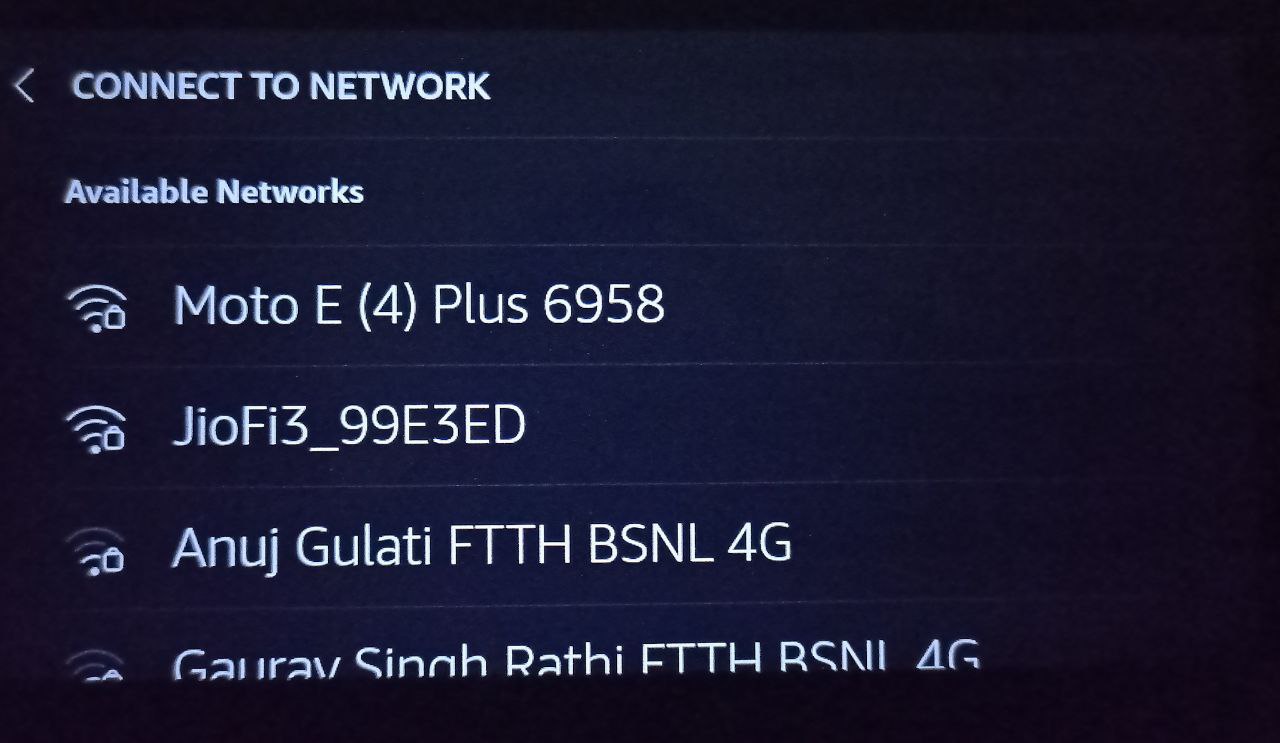
The various WiFi networks will be shown in the next step, and you will be asked to select one to which you want to connect your Echo Show 5 device. After you’ve chosen a network, you’ll need to input the network’s password and then click Done. Your device will connect to the WiFi network of your choice.
Step 4: Add the Amazon Login Details
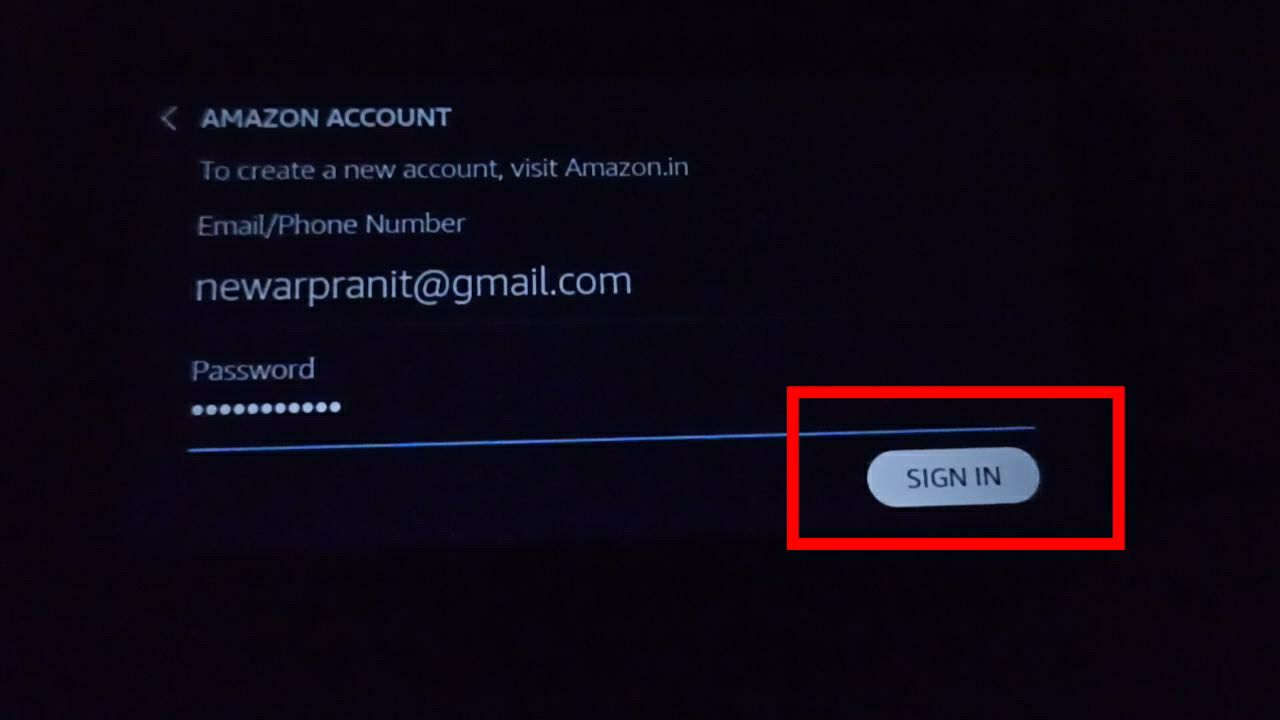
The following step is to link your Amazon account to your Echo Show 5. Now you must input your Amazon User ID and password, then click Done. You must then select the Sign In option from the menu on the screen. If you don’t already have an Amazon account, you can create one at www.amazon.com.
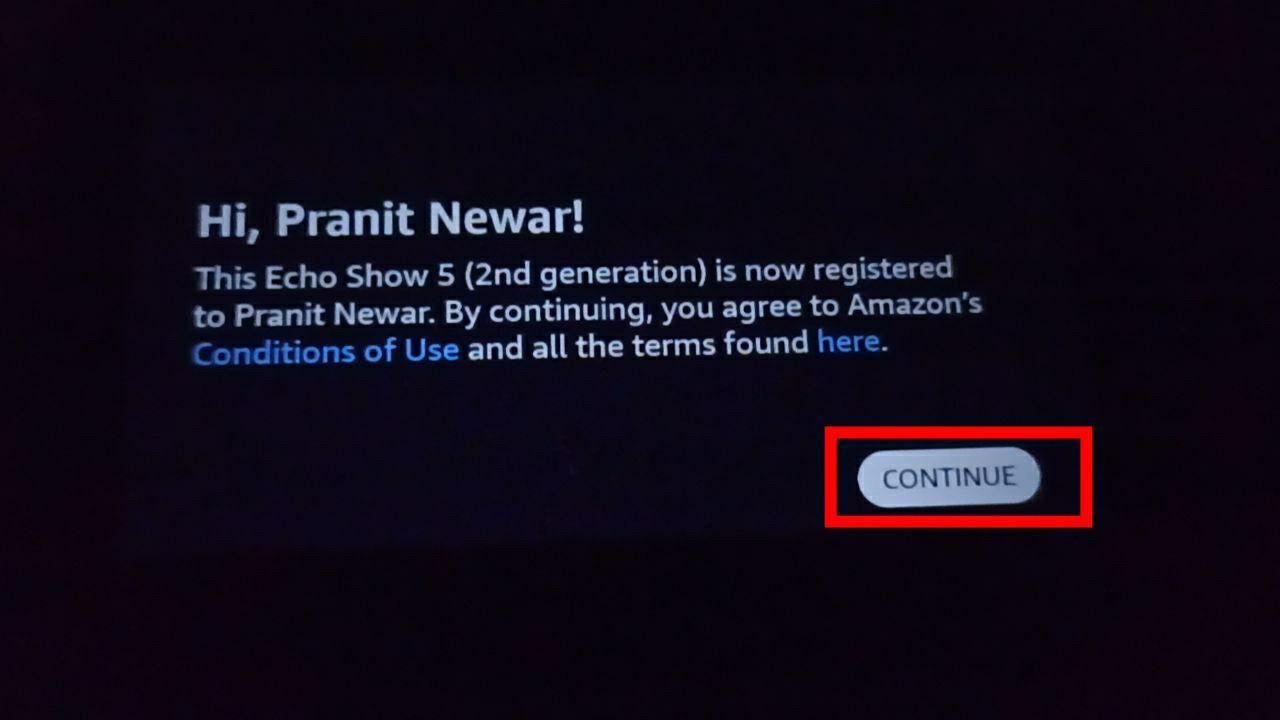
Step 5: Agree to the Conditions of Use
You will be signed in to your Amazon account now. You will be prompted that you are now registered on the network and asked to accept the terms and conditions of use. You need to click on “Continue.”
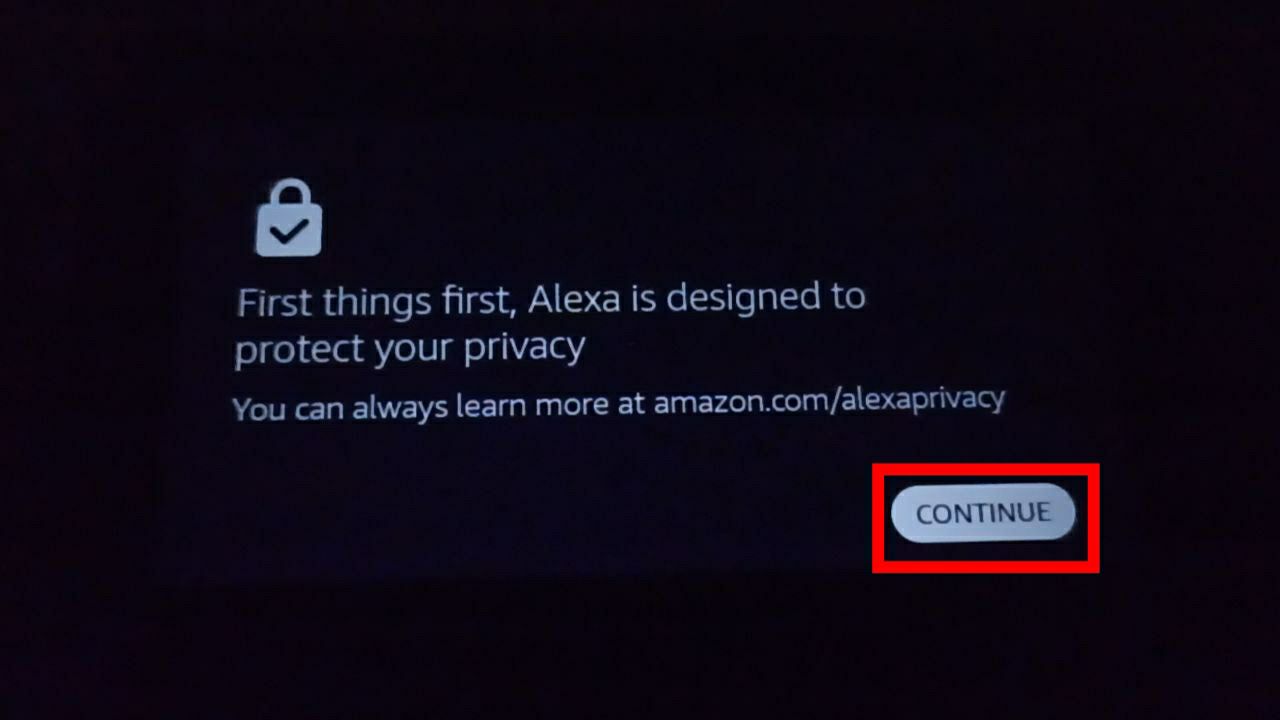
Step 6: Privacy
The next step assures you that your privacy will be respected, as well as directs you to amazon.com/alexaprivacy for more information. You need to click on “Continue.”
Step 7: Confirm Time Zone
This step will require you to confirm that the time zone displayed is the correct one for you. Because you are already logged in to your Amazon account, the correct time zone will be displayed. You can click on the displayed one to change it too. A drop-down menu will appear with options for all time zones. You can then scroll down and select your chosen option.

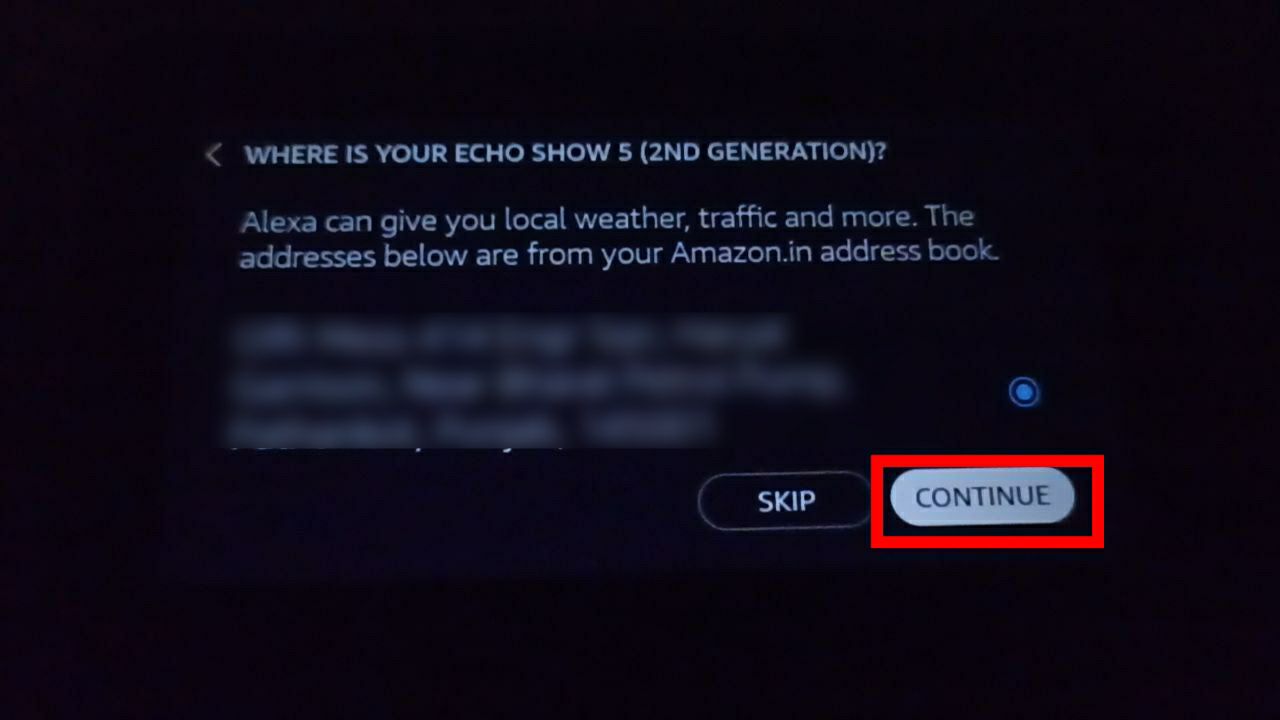
Step 8: Confirm Your Address
Your local address associated with your Amazon ID will be displayed at this step, and you will be prompted to confirm it. You can choose any address from your Amazon address book here. You need to choose to continue to move to the next step. You can skip this step if you wish to.
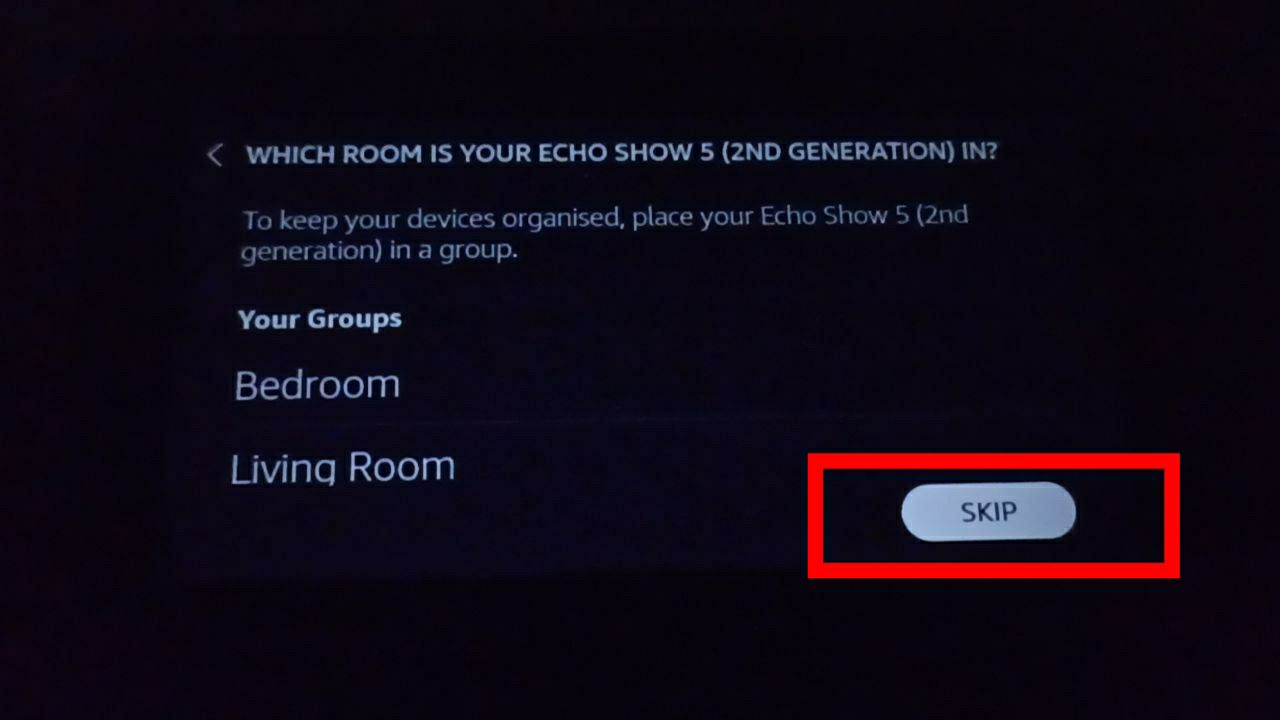
Step 9: Confirm in Which Room Your Device Will Be Located.
In this step, you will be asked in which room you would like your device to be placed for better organization. You can choose from the options offered. You can skip this step if you wish.
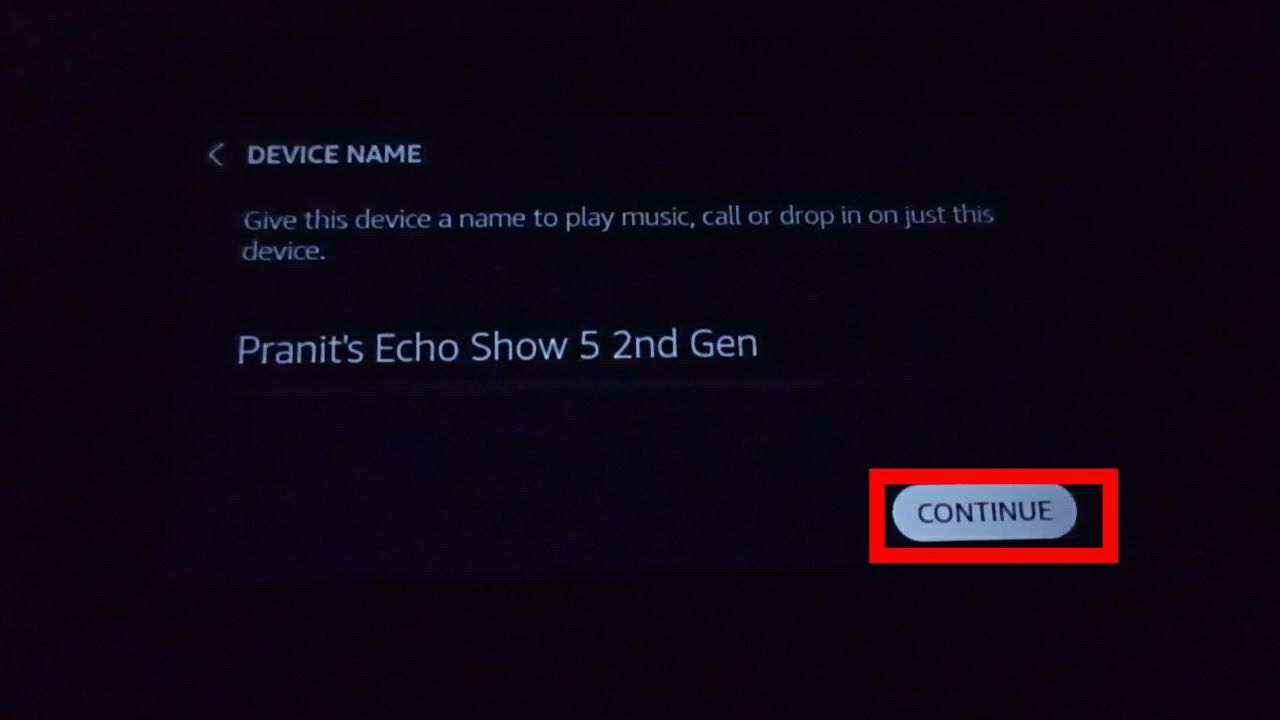
Step 10: Choose the Name of Your Device.
Here you can type the desired name of your device and click on continue.
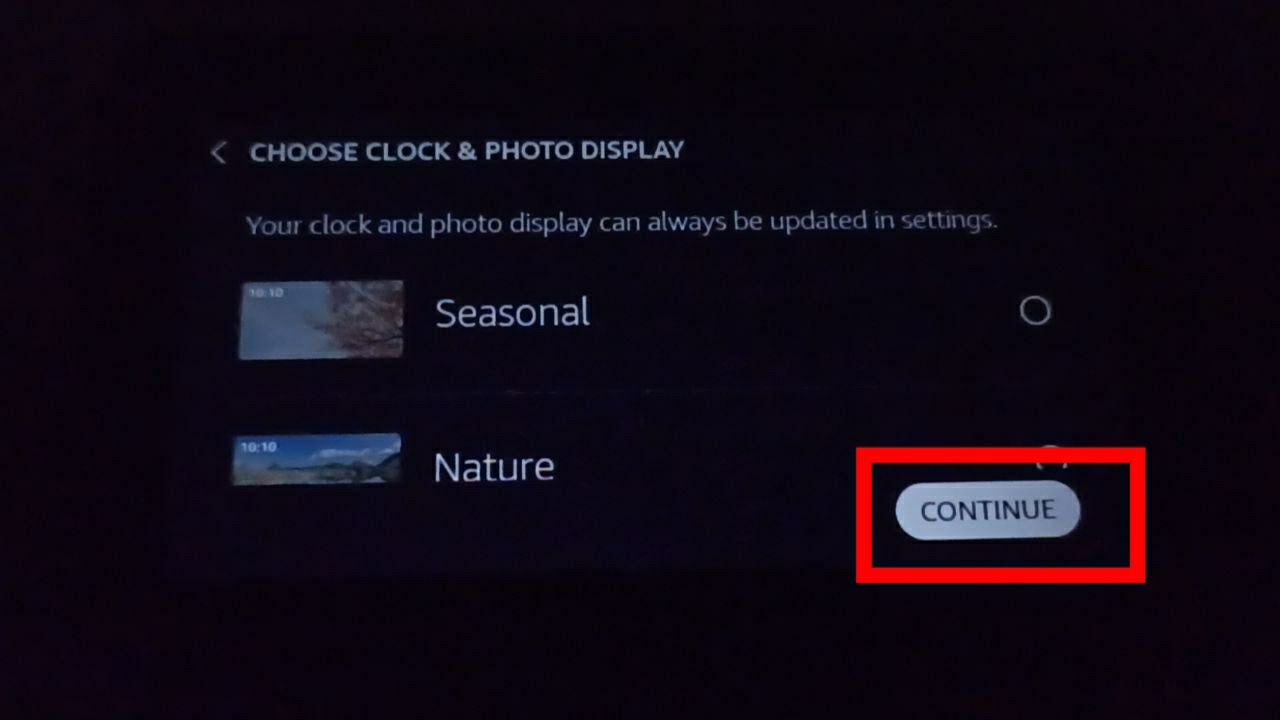
Step 11: Choose a Theme for the Clock and Photo Display.
You can select a theme for the clock and photo display from the options presented in this step. Seasonal, nature, art, flora, and others are among the options.
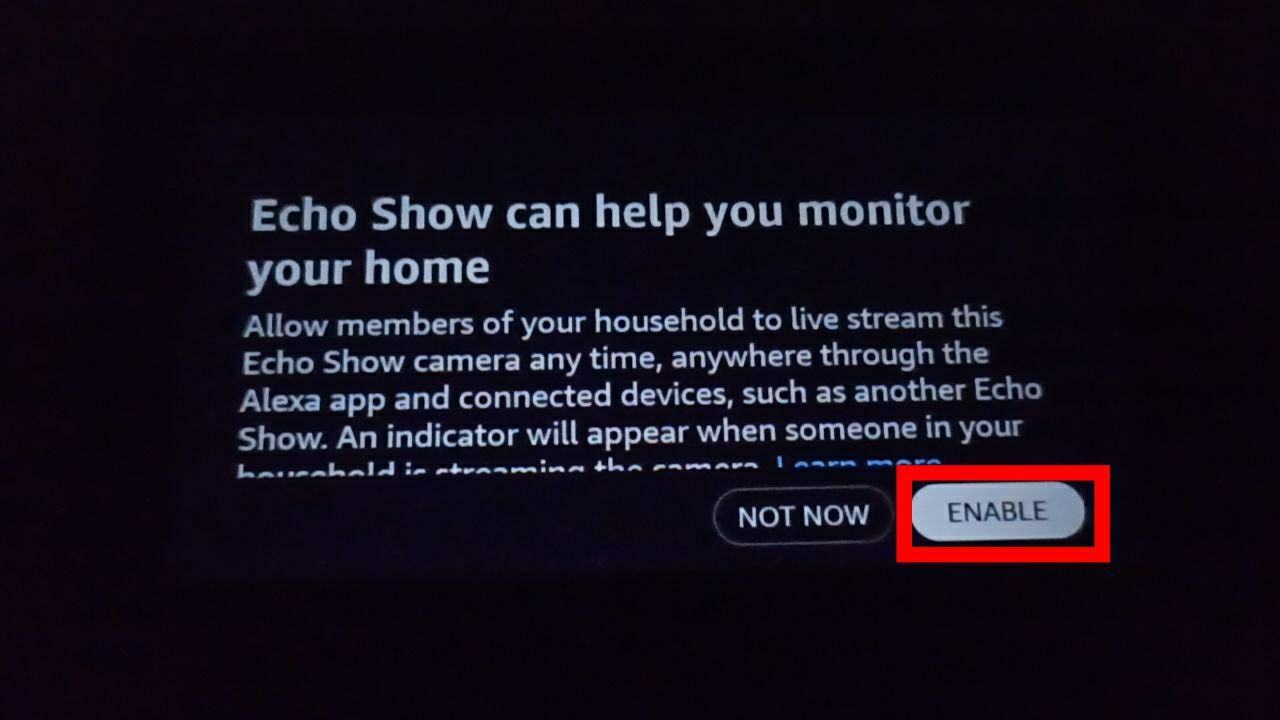
Step 12: Permission to Live Stream Your Camera
Permission is required from you at this stage to allow household members to access the Echo Show 5 camera from anywhere, at any time, using the Alexa app or a connected device. This feature is for monitoring your home. You can choose whether to enable or skip the step by clicking Enable or Skip.
If you select Enable, you will be informed that you can monitor the live broadcast through the Alexa app. You can also use the settings on this device to customize the camera functions. In this step, you must click Done.
Step 13: Done
Finally, Alexa will inform you that the device is ready, and you will be directed to the device’s home screen.

Troubleshooting Tips for a Smooth Amazon Echo Show 5 Setup
Here are a few common issues that people may face while following the procedure to set up their Amazon Echo Show 5:
- Wi-Fi Connection Issues: If you are having Wi-Fi connectivity issues during setup, make sure your Wi-Fi network is stable and that the Echo Show 5 is within range of your router. To resolve the issue, try rebooting your router or connecting to a different Wi-Fi network.
- Alexa Not Responding: If Alexa is not responding to your voice commands, make sure the microphone is turned on and not obstructed. Also, ensure that you’re speaking clearly and loud enough for Alexa to hear you.
- Setup Stuck on Spinning White Screen: If the setup process gets stuck on a spinning white screen, try restarting the Echo Show 5 by holding down the power button for about 20 seconds. This might help the device complete its initial configuration.
- Forgot Amazon Account Password: To reset your Amazon account password, go to the login page and select “Forgot Password.” To regain access to your account, follow the instructions sent to your registered email or phone number.
- Device Not Turning On: If your Echo Show 5 is not turning on, make sure it is properly connected to a power source. Try using a different power outlet or power adapter to eliminate potential issues with the power supply.
- Error 10:2:12:3:1: When encountering this error 10:2:12:3:1 code, perform a soft reset on your Echo Show 5 by unplugging it from the power source, waiting for a few seconds, and then plugging it back in. This might resolve the setup issues.
- Alexa App Crashes: Check to see if your device’s software is up-to-date if the Amazon Alexa app keeps crashing while being set up on your smartphone or tablet. Try closing other apps running in the background that might be conflicting with the Alexa app.
- Setup Stuck on Amazon Logo: If your Echo Show 5 gets stuck on the Amazon logo screen, try performing a factory reset. To do this, press and hold the volume down and microphone off buttons simultaneously for about 20 seconds until the Amazon logo disappears. The device should restart and prompt you to set it up again.
Frequently Asked Questions
What Comes in the Box?
When you receive your Amazon Echo Show 5, the following items should be in the box:
- Amazon Echo Show 5 device
- Power adapter and cable
- Quick Start Guide
How to Connect Amazon Echo Show 5 to Power?
To start the setup process, connect one end of the provided power cable to the Echo Show 5 and the other end to the power adapter. Then, plug the power adapter into a power outlet. The device will automatically power on once connected.
What Wi-Fi Network Does Amazon Echo Show 5 Support?
The Echo Show 5 supports 2.4 GHz and 5 GHz Wi-Fi networks. Make sure to connect the device to a stable Wi-Fi network during setup to ensure smooth operation and access to all of its features.
What is Error 10:2:12:3:1 on Amazon Echo Show 5?
Error 10:2:12:3:1 is an issue that occurs on the Amazon Echo Show 5 smart display. It indicates a problem with the device’s network connectivity.
How can I resolve Error 10:2:12:3:1?
Here are some troubleshooting steps to resolve Error 10:2:12:3:1 on your Amazon Echo Show 5:
- Check Wi-Fi Connection: Ensure that your Echo Show 5 is within range of your Wi-Fi router and that it is connected to the correct Wi-Fi network.
- Restart Echo Show 5: Turn off your Echo Show 5 by unplugging it from the power source for about 30 seconds, then plug it back in and power it on.
- Restart Router: Restart your Wi-Fi router by unplugging it for about 30 seconds and then plugging it back in.
- Check Network Settings: Ensure that your Wi-Fi network is functioning correctly and that other devices can connect to it without any issues.
- Update Firmware: Make sure your Echo Show 5’s firmware is up to date. You can check for updates in the device settings through the Alexa app.
- Reset Network Settings: If the problem persists, you can try resetting the network settings on your Echo Show 5. To do this, go to Settings > Network & Bluetooth > Reset to Factory Defaults > Reset Network.
What Does the Light Ring on Amazon Echo Show 5 Indicate?
The Echo Show 5 ring light provides a visual indication of the device’s status. A spinning blue light ring indicates that Alexa is processing a request, while an orange light ring indicates that the device is in “Do Not Disturb” mode.
How to Download the Alexa App?
To get started with your Echo Show 5, download the Alexa app on your smartphone or tablet. You can download the app from the appropriate app stores for both Android and iOS devices.
How to Set up Smart Home Devices with Amazon Echo Show 5?
Setting up smart home devices with your Echo Show 5 is simple and can be done using the Alexa app. Here’s how:
- Open the Alexa app and tap on the “Devices” icon at the bottom right corner.
- Choose “Add Device” and select the type of smart home device you want to set up (e.g., smart light bulbs, smart plugs, smart thermostats, etc.).
- Follow the on-screen instructions to pair the smart device with your Echo Show 5.
- Once connected, you can control the smart home devices using voice commands or the Alexa app.
Final Thoughts
The setup process for Amazon’s Echo Show 5 device may appear complicated, but it is actually quite simple. If you find this post on “How to Set Up Amazon Echo Show 5” helpful? Let us know by liking or disliking it! We value your feedback and would love to hear your thoughts on our article. We’ll keep bringing more since we know you’ll keep visiting! Thank you for your support!

Passionate about tech gadgets, I turned my love into a blogging journey. Specializing in how-to articles, I unravel the intricacies of gadgets, providing step-by-step guides. Join me in exploring the tech universe, where every device holds endless possibilities. Let’s simplify the complexities and enhance your tech experience together.