Notifications on Fire TV are designed to keep users informed about important updates, new content, and other relevant information related to their device and apps. These notifications are an essential part of the Fire TV experience. One of the main purposes of notifications on Fire TV is to inform users about new content. This makes it easier for users to discover new content and stay up-to-date with the latest releases.
However, for some users, notifications can be disruptive and distracting. For example, if a user is in the middle of watching a movie, a notification may pop up, breaking their concentration and ruining the viewing experience. Fortunately, notifications on Fire TV are optional and can be turned off if desired. Read this article to learn how.
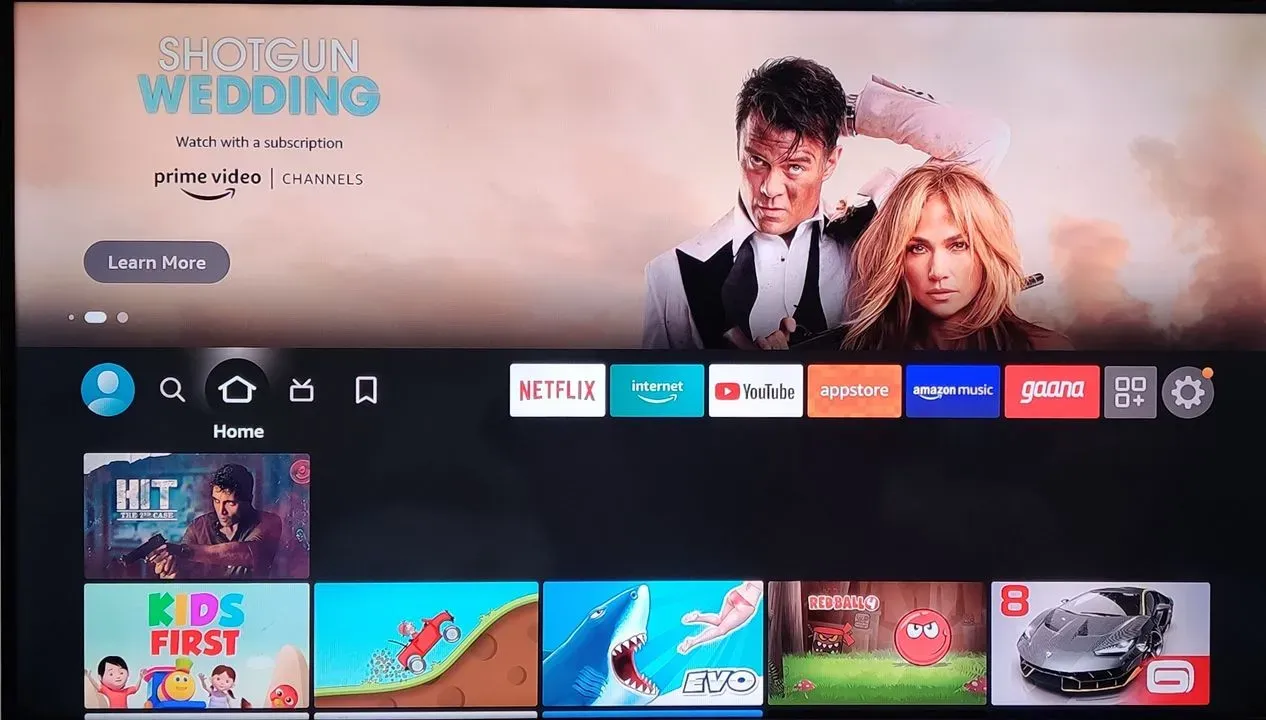
Step 1 : Go to Home Page
The very first step to the entire process is to make sure that your device is turned on and is properly connected. Then, press the “Home” button on your Fire TV Stick remote to go to the Home Page.
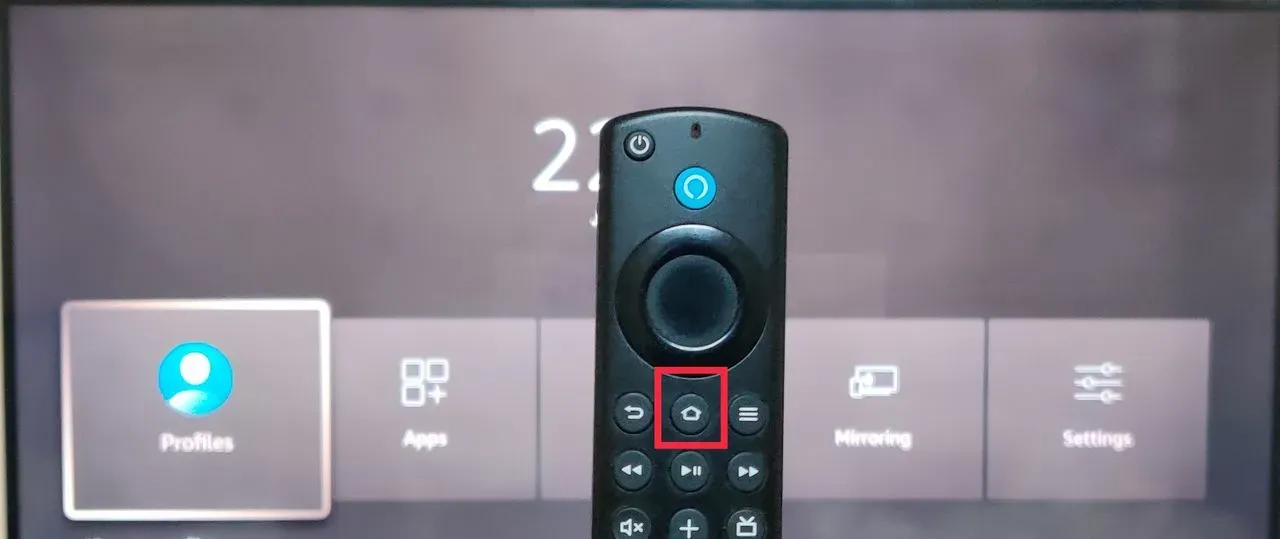
Step 2 : Press and Hold “Home”
Next, to access the quick settings menu, press and hold the “Home” button on your Fire TV Stick. This will open up the menu options on your screen.
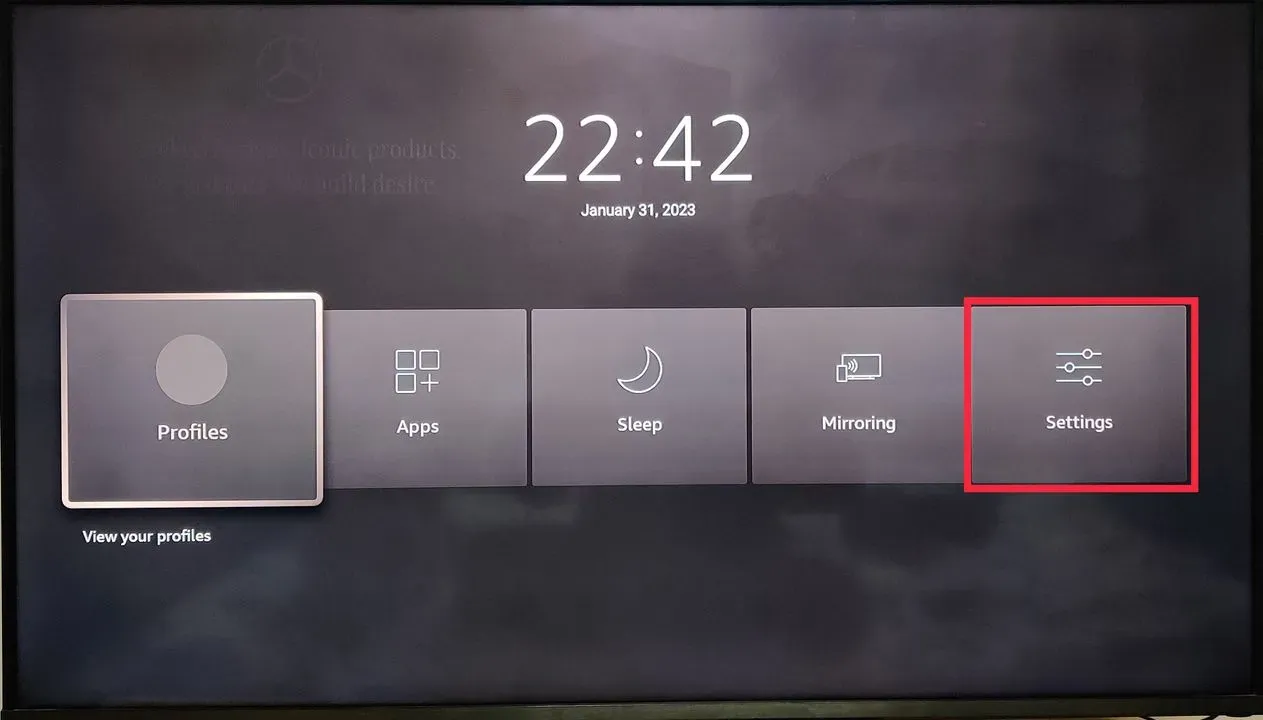
Step 3 : Access “Settings”
Once you are at the quick setting menu, scroll right to find the “Settings” option from the various options available on your screen. Press the “Okay” button to select “Settings”.
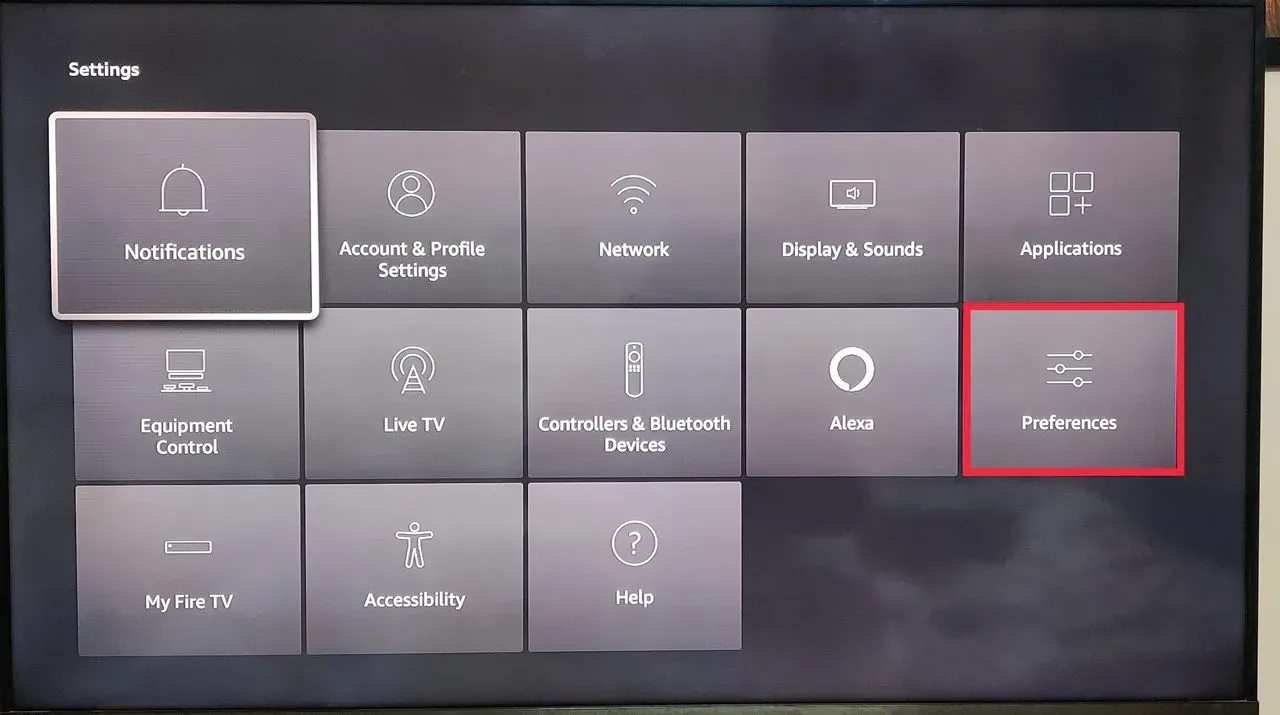
Step 4 : Select “Preferences”
Once you select the “Settings” tab, you will be able to access various settings options available on your device. Choose “Preferences” from the options and press “Okay” on your Fire TV remote to select and access it.
Step 5 : Go to “Notification Settings”
Scroll through all the Preferences settings menu options to find “Notification Settings”. To access it, press “Okay” on your Fire TV Stick remote.

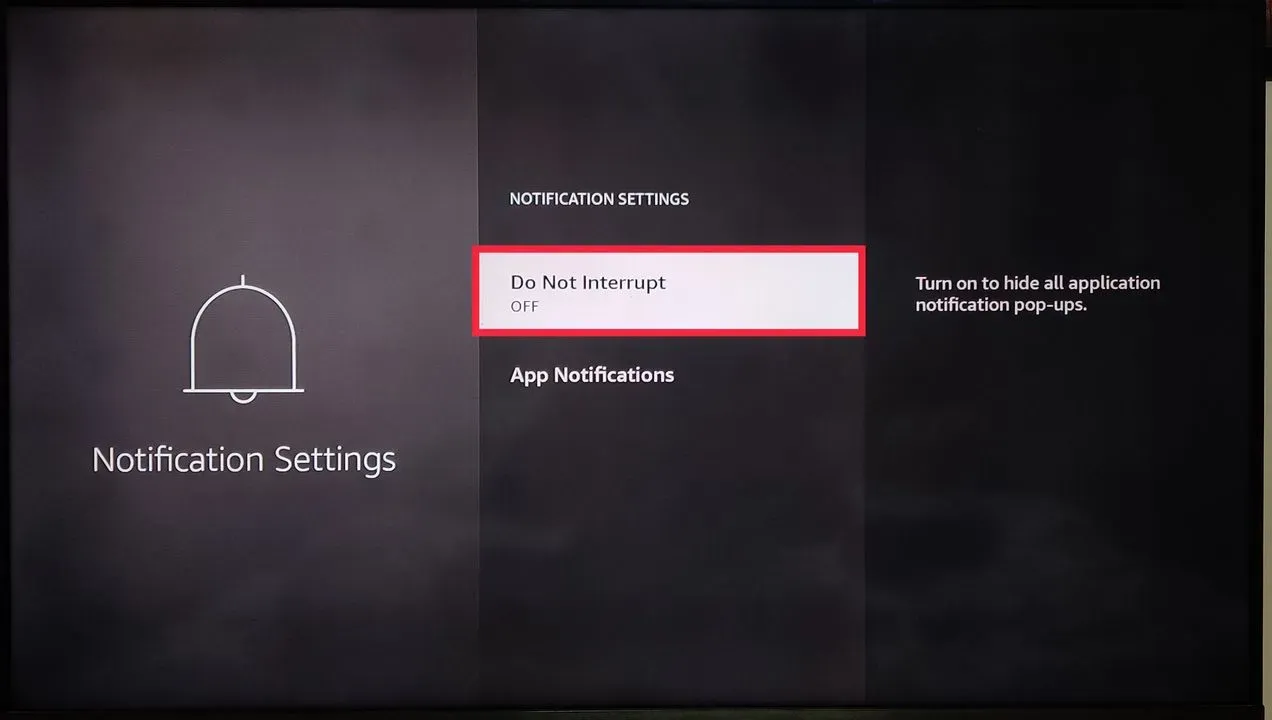
Step 6 : Access “Do Not Interrupt”
When you access the Notifications Settings, you will be able to see two options on your device’s screen. Go to “Do Not Interrupt”. This setting by default is by default turned to “OFF” on all Amazon equipment to send out notifications to the user about new updates, new features etc.
Step 7 : Turn “ON” Do Not Interrupt
Turn this setting to “ON” to get rid of all the unwarranted distractions and disruptions. To turn this “ON”, simply select the “Do Not Interrupt” and press the “Okay” button on your Fire TV Remote.
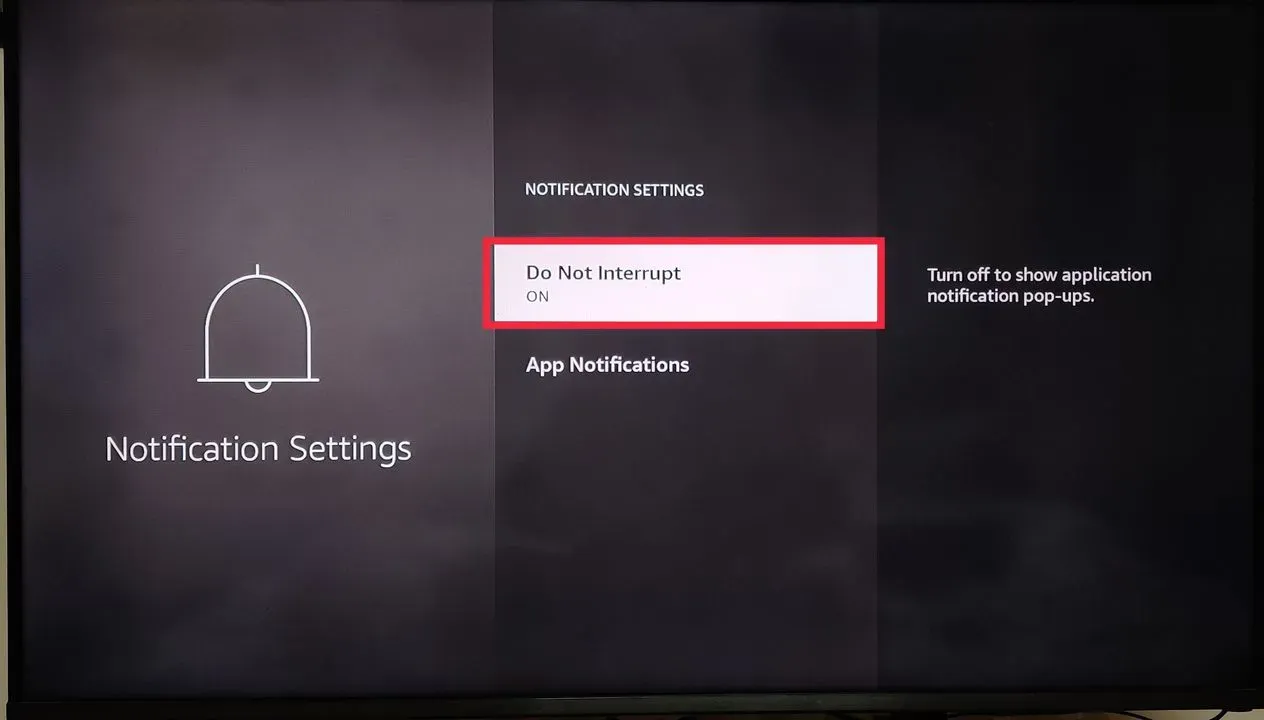
This will turn off all system notifications on your Fire TV. If you want to turn on notifications again, simply follow the steps above and toggle the switch for “Do Not Interrupt” back on.
Additionally, you might also have to turn OFF notifications for individual apps on your Fire TV Stick, as turning OFF “Do Not Interrupt” will only turn off system notifications from your Fire TV Stick.
If you want to turn “OFF” notifications for individual apps, you can do so by following the following steps:
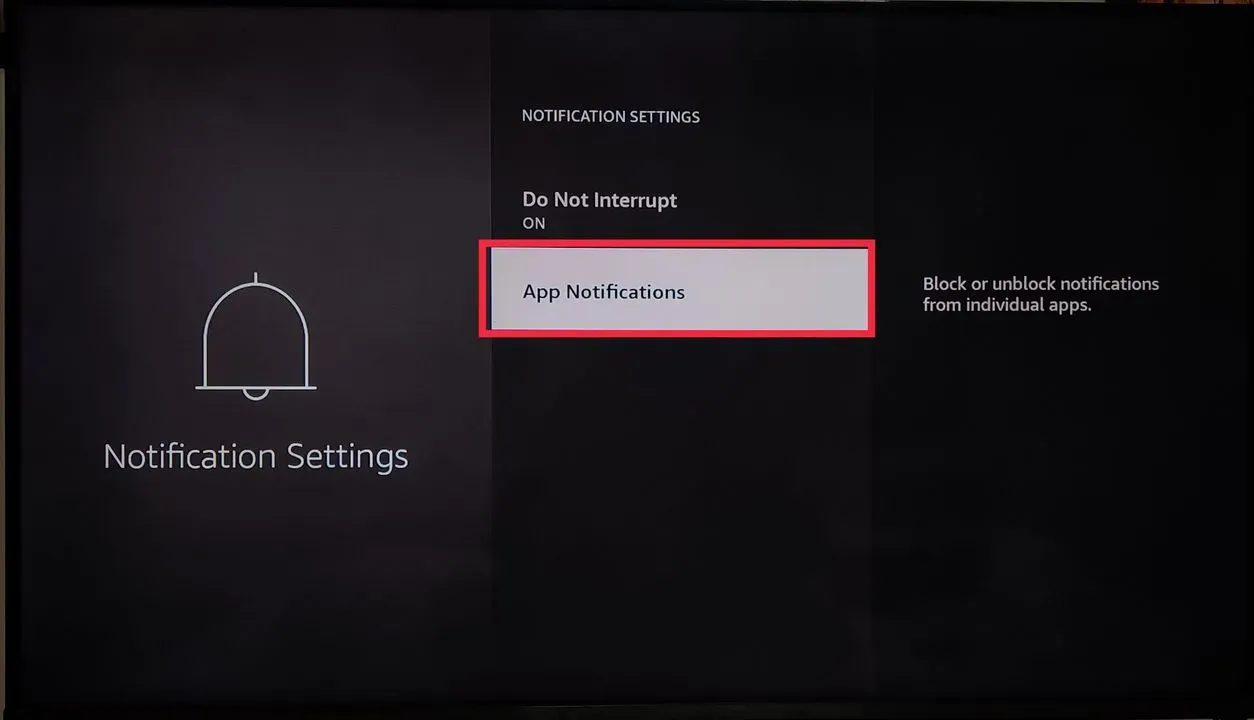
Step 8 : Select “App Notifications”
In order to completely turn OFF notifications on your Fire TV Stick, scroll down and press “Okay” button on your Fire TV remote to select “App Notifications”
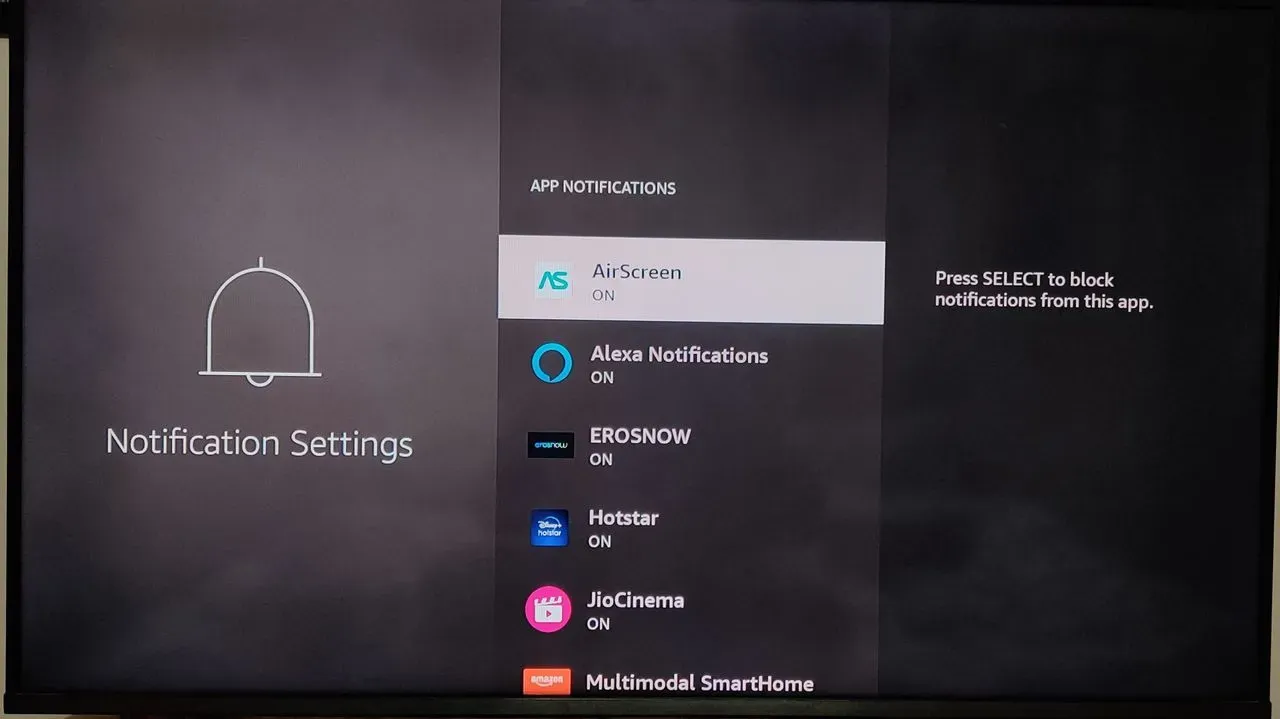
Step 9 : Turn “OFF” App Notifications
Once you access the App Notifications tab, you will see all your apps that have their notifications turned ON, enlisted on your Fire TV Stick device’s screen. Select an app and press “Okay” on your Fire TV remote to turn “OFF” its notification.
You can repeat these steps for each app you want to control notifications for.
Frequently Asked Questions
How to block notifications for specific apps?
To prevent notifications from specific apps, navigate to Settings > Preferences > Notification Settings > App Notifications. From there, pick the desired app and deactivate the toggle associated with it. This action will halt notifications solely for the chosen app, preserving an uninterrupted experience tailored to your preferences.
How to disable Amazon notifications?
In the Settings menu, venture into Preferences and proceed to Privacy Settings. Within this section, deactivate the options labeled “Device Usage Data,” “Collect App Usage Data,” and “Interest-based Ads.” This maneuver will effectively curtail Amazon-related notifications, preserving your privacy and reducing unwanted alerts.
How to check notification settings?
Access Settings, then Preferences, and proceed to Notification Settings. In this menu, you’ll find a concise overview of your notification configuration. It displays the status of both “Do Not Interrupt,” which governs overall notifications, and “App Notifications,” granting you a swift understanding of your current setup.
How to clear notification history?
Navigate to Settings, then Notifications. Here, a list of received notifications awaits. Select a specific notification and press the menu button on your remote – often denoted by three horizontal lines. Opt for “Clear Notification” to eliminate individual entries, or “Clear All Notifications” to wipe the slate clean entirely.
Conclusion:
In conclusion, notifications on Fire TV are an important part of the user experience, but they can also be distracting and disruptive. Fortunately, Fire TV provides users with the flexibility to turn off notifications if desired. Turning off notifications on your Fire TV is a straightforward process that can improve your viewing experience by reducing distractions. If you find that notifications are disrupting your Fire TV experience, follow the steps in this article to try turning them off and see the difference it makes. Whether you choose to keep notifications on or turn them off, Fire TV provides users with the control to customize their experience to their preferences.

Passionate about tech gadgets, I turned my love into a blogging journey. Specializing in how-to articles, I unravel the intricacies of gadgets, providing step-by-step guides. Join me in exploring the tech universe, where every device holds endless possibilities. Let’s simplify the complexities and enhance your tech experience together.